It was raining this morning so I deemed it a perfect day for sewing another project bag.
This time, I went for a more precise method. I decided to do the math and figure out the correct size for the vinyl window and a bag approximately 14" wide and 12" tall.
I needed 7 columns squares for the width and 6 rows for the back and three rows for the front - one below the vinyl window, one above, and one row above the zipper for a total of 9 rows. I did them all on the same piece of interfacing and just cut apart the individual rows for the front after sewing all the column seams. I actually had 7 rows on the back as the top row was to fold over and make the top row on the front - above the zipper.
I gridded the fusible interfacing with 2.5" squares. Then cut the 5" squares into 4s, separating lights from darks.
After cutting the 5" squares into quarters, 32 dark squares and 31 light ones, keeping the darks and lights separate, I arranged the darks on the gridded interfacing in a checkerboard fashion, making sure not to repeat a pattern in a row or column.Then I did the same with the lights.
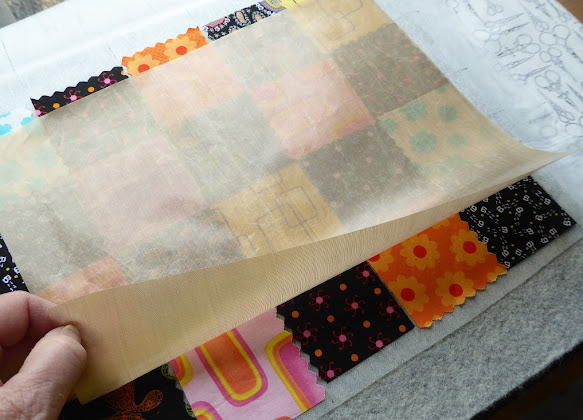
Once I was pleased with the arrangement, I pressed the squares onto the fusible interfacing, using a non-stick pressing sheet.
I think it's probably Teflon (TM) so I'm hoping it doesn't kill me. This way, any glue between the squares didn't stick to the iron.
Next I folded one column over and stitched 1/4" along the folded edge, for all of the column seams.

Then I sewed all the horizontal row seams as was done for the column seams. Now I could cut the lining to exactly match all the cut pieces. Then cut the batting to fit each piece leaving a 3/8" margin around each piece to reducing the bulk.
Now came time to sew everything together. I checked which rows I wanted where, remembering that the top row of the back was going to fold over.
First I sewed a row of squares and its lining onto the lower edge of the vinyl with right sides together. After opening it out, I topstitched. I did the same with the top edge. Then I sewed the zipper to the top edge of the row of squares above the vinyl. At this stage, I don't attach the lining. Instead, after attaching the zipper to the squares, I press a hem on the lining and pin it to the back of the zipper. The lining will then attach when I topstitch below the zipper.
Next, I sew the top of the back to the top of the zipper, enclosing the zipper tape between the lining and the squares fabric. I took care to match the seams of the top row of squares to the squares below the zipper. Pressing the seams in the opposite direction allowed me to 'nest' the seams and pin so they'd match up.
Then OPEN THE ZIPPER and fold the lining, right sides together and the squares right sides together, sew the side seams, the bottom seam of the squares fabric and the lining fabric, leaving a 4" - 5" gap in the bottom of the lining for inserting my hand and turning everything right sides out. All of these steps are covered in Kari's video mentioned in the previous post.
The 7th row on the back folded over to make the top row on the front.
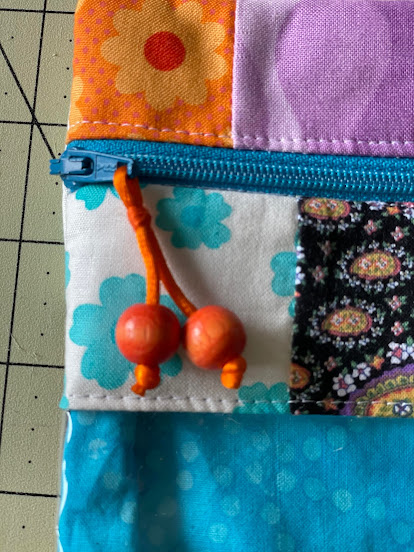
The top fold didn't land perfectly on the seam line. Had I checked that when folding the right sides together to sew the side seams, it could have worked out perfectly. I would have had to trim a bit off the bottom of the bag to compensate for my inaccuracy. Again, I wasn't that concerned about it.I had an old scrunchie that has a bunch of wooden beads tied with coloured satin cord. I have kept it all these years in case I ever had a use for all those beads. For a zipper pull, I untied the knot on one end, threaded it through the zipper pull, slid the bead back on the end and re-tied the knot. Then with matching DMC 947*, I sewed the satin cord together just below the zipper pull. (Pictured is yesterday's bag).
*again my DMC colour card came in handy.


No comments:
Post a Comment