Sunday, 5 May 2019

Sewing Marathon

Yesterday Alexa, Dorota, Donna, and I went to the first annual Sunshine Fibre Festival in Severn at the Orillia Agricultural Fairgrounds. It was a cute, little fibre fest where we saw lots of different vendors from what we customarily see down where we live. After lunch we went to Thimbles & Things- a lovely quilt shop in the same area.

All I was looking for there was a zipper to match my measuring tape fabric and they had one. Yay! So yesterday evening I started sewing everything together. Nothing was terribly difficult, but with four zipper pockets, it was just a LOT of sewing.  Why the extra length on the zippers? They can always be trimmed to the desired size. I usually buy 14" or 16" zippers for this reason. Also when they're trimmed down, the metal stoppers get trimmed off so there's no fear of hitting them with the sewing machine needle.
The Sew Together Bag video tutorials were very helpful. Here's the interior with the side bindings in  place.
And a different view. This is as far as I got last night.
All that I had to do this morning was attach the long zipper that closes the whole bag.

And finally...TA DA! The quilting on the exterior shows up well in this photo. With directional fabric, things were a bit more fiddly.  I had to ensure the word 'Stitch' appeared in the correct orientation (click on the photo to 'embiggen')
even on the zipper tabs that are sewn to the bottom binding. I hadn't cut the pieces in the right orientation so I used some creative sewing to make them work.

This thing will hold a LOT of stuff. It's wide enough to accommodate all the tools one could imagine. The tray on the front is handy for grabbing things whilst sewing.
The side view shows how the long zipper is attached.
I'm very happy with how it turned out. I'd love to make another one but maybe not for a while.
 
Some observations/notes:
  • It was very useful to label my pieces with letters and the upward orientation while I was cutting them out.
  • I attached the other side of my binding by machine. I did glue it in place and used Wonder Clips to hold things. I tried to hand stitch first but it didn't go well.
  • I liked how the quilting on the exterior worked out, however one can just use the same light interfacing as on the interior pieces. 
  • If I had used the same colour zipper as the bindings, I wouldn't have had to do as much fiddling to stitch in the ditch when I attached the long zipper binding. I used black thread in the top thread and white for the bobbin thread.
  • Rather than paying a fee to watch the Bionic Gear Bag tutorials on the Sew Like A Rockstar website, save your cash and watch the free Sew Together Bag tutorials on YouTube. The construction of the two bags is very similar. Watch them a few times to get your head around all the steps.
  • Also, save some trees and save the pattern to your iPad rather than printing all 30+ pages. I only printed the one pattern piece that had to be cut out and taped together

Friday, 3 May 2019

Bionic Gear Bag Prep

I started cutting out my pieces for the Bionic Gear Bag. I'm using 6 different fabrics - mostly fat quarters and a couple from 0.5m of fabric.

I'm labeling each piece with its letter name and an arrow pointing to the top of the piece as most of the fabrics are directional. I used a Sharpie on masking tape on the roll, then peeled it off, cut it, then stuck it to the appropriate piece. I was leery about using the Sharpie with the masking tape right on the fabric - in case it bled through. I pinned any duplicate pieces together (i.e. zipper pocket linings 'J', side pieces, etc.)
Here they all are cut out, labeled and ready for the interfacing. I'm using the 'Stitch' fabric for the front tray, bindings, zipper tabs,and zipper pocket interiors. I still have a bit left from the 1/2 metre Jen gave me for my birthday. The fabric that looks like random pattern pieces ('F' and 'I' below) has been in my stash for years and is a good colour match for this project. (excuse the bad lighting)
I discovered that some of my interfacing wasn't fusible so I found the Heat N Bond (TM) in my stash and made it fusible. It didn't really add much extra bulk to the interfacing.

First thing I did was sew the bottoms of the outer two pieces together as this fabric is directional. I then decided to quilt it, attaching it to some batting. Because of the batting, I didn't need to interface the exterior piece 'A'.
I used the 60 degree line on my cutting mat as a guide.
I put a pin in the centre of the centre seam then put the pin on the 60 degree line.  Then used masking tape as a guide for the first line. With the first line done, I stitched another quilt line 2" away. Then did the same in the other direction. It takes a while, uses quite a bit of thread, and narrows the piece a bit, but I like the look of it.

After getting all the pieces interfaced, I thought I'd start sewing the pieces together. It was only then I realized my yellow zipper doesn't match the yellow measuring tape fabric at all.
My progress screeched to a halt. But it was already past bedtime and I have a busy day tomorrow so I quit for the night.

This afternoon I met Barb at St. Mark's Church in Whitby to attend the quilt show. Barb had her first quilt she ever made on display. It looked great.  We admired all the beautiful quilts and voted for the ones we liked in each category. Then we enjoyed our tea and treats which were included in the admission fee.

While we were chatting Barb mentioned that some people in one of her embroidery guilds were making the BGBs and were selling them for $100 plus the cost of the materials. I can see why they'd charge so much. I just spent the last 6 hours cutting out my pieces and interfacing them and have about another 6 hours left to sew them all together. That doesn't even count all the time I spent watching the YouTube videos on the Sew Together bag.

Tomorrow Alexa, Dorota, Donna, and I are going up to the Orillia area for the Sunshine Fibre Festival at the Orillia and District Fairgrounds. I had never heard of it and certainly don't need any more fibre, but it sounded like it would be fun. While in the area, I hope to visit the quilt shop up there - Thimbles & Things. I'm hoping they sell zippers and have one that will go with my measuring tape fabric.

On the way home we may stop into Myrtle Station Wool if any of the gals are interested.

The Ultimate Sewing Centre in Oshawa is having their open house tomorrow where they will be revealing all the course projects for the summer but I don't think I'll make it back in time for that. I'll just check out their web page and possibly pop into the store next week and see what all is offered. I think I'm at the point where I can interpret a pattern and get through a project on my own with help from YouTube videos and any online commentary. However, I could be enticed by an interesting class.

Tuesday, 30 April 2019

I Made a Rug!

This afternoon I sat down at the ol' Bernina and started sewing the long strips of fabric and batting together. The pattern has very good instructions on how to do this. I used the walking foot and a denim needle and had 5 bobbins of thread ready.

It took a couple of hours. Once I had all 140ft done, I wound it into a big ball.
then put the ball into a bowl under my sewing table so it wouldn't roll around the room while I was sewing the rug together.
I switched to the regular zig-zag foot as the walking foot wasn't quite wide enough for my widest zig-zag setting. I stitched the whole thing together. I did a pretty good job on the ends, easing the outer strip around the bend but eased too much on the straightaway. The result was a ripply rug which wouldn't lie flat even with a good pressing with Flatter.
So I picked out the last few rounds and re-stitched it, still easing the ends but holding the strip quite firmly on the straight parts. With a good pressing, it solved most of the rippling.

It lies pretty flat now.
Daytime shot.
It was pretty easy. I'd even consider doing another one using batting strips that I've cut myself. I think it's a bit more economical that way.
The rug is washable on delicate and can be hung to dry. It will need to be pressed flat after that.
The white thread was so neutral, it blended right in.

There were times I missed getting the zig-zagging over both strips so simply raised the needle and presser foot and re-stitched. When I was pressing it, I made note of some other gaps and just restitched them.

Before starting the project I watched several YouTube videos on the subject. I gleaned several good ideas from them. Again, the pattern had some good tips as well. One thing that helped me was a way to create a surface to the left of the machine so the rug wouldn't hang off the extender. I put the machine on a table with adjustable height and sat beside the dining room table. I lowered the adjustable table so my extender was as the same height as the table. As the rug grew to the left of the machine, it could rest on the table without drooping and hanging down, bending it out of shape. Another tip was to reserve the darkest colour for the outside. To make it all the way around the rug on the last round, you will need 4 dark strips to make it all the way around.

With that done, I have a real urge to do more sewing. On my wish list is a Bionic Gear Bag, some more project bags, a couple of zipped bags, and some placemats.

Sunday, 28 April 2019

Starting My Jelly Roll Rug

I got my jelly roll strips sewn end to end - all 40 strips @ 42" each. That's a 140 foot 2 1/2" wide strip of fabric. - 46.7 yd.

I'm using Fabulous Forties "Jolly Spring' fabrics. As much as I hate what rabbits do to my garden, they're really cute on this fabric.

There are also gnomes with ears
and gnomes riding rabbits.
When joining the strips, I lay them right sides together at 90 degrees to each other.
The green masking tape is making a straight line from the needle to the edge of the extender.
That way, I don't need to pin the pieces. I simply put the needle at the top edge where the two fabrics cross and the lower crossing along the tape.
After all the strips were joined, I trimmed the triangles to about 3/8". I started trying to trim with a rotary cutter but all the aligning was fiddly so I just cut the excess and ears with scissors. Then I opened the diagonal seams and pressed them open.

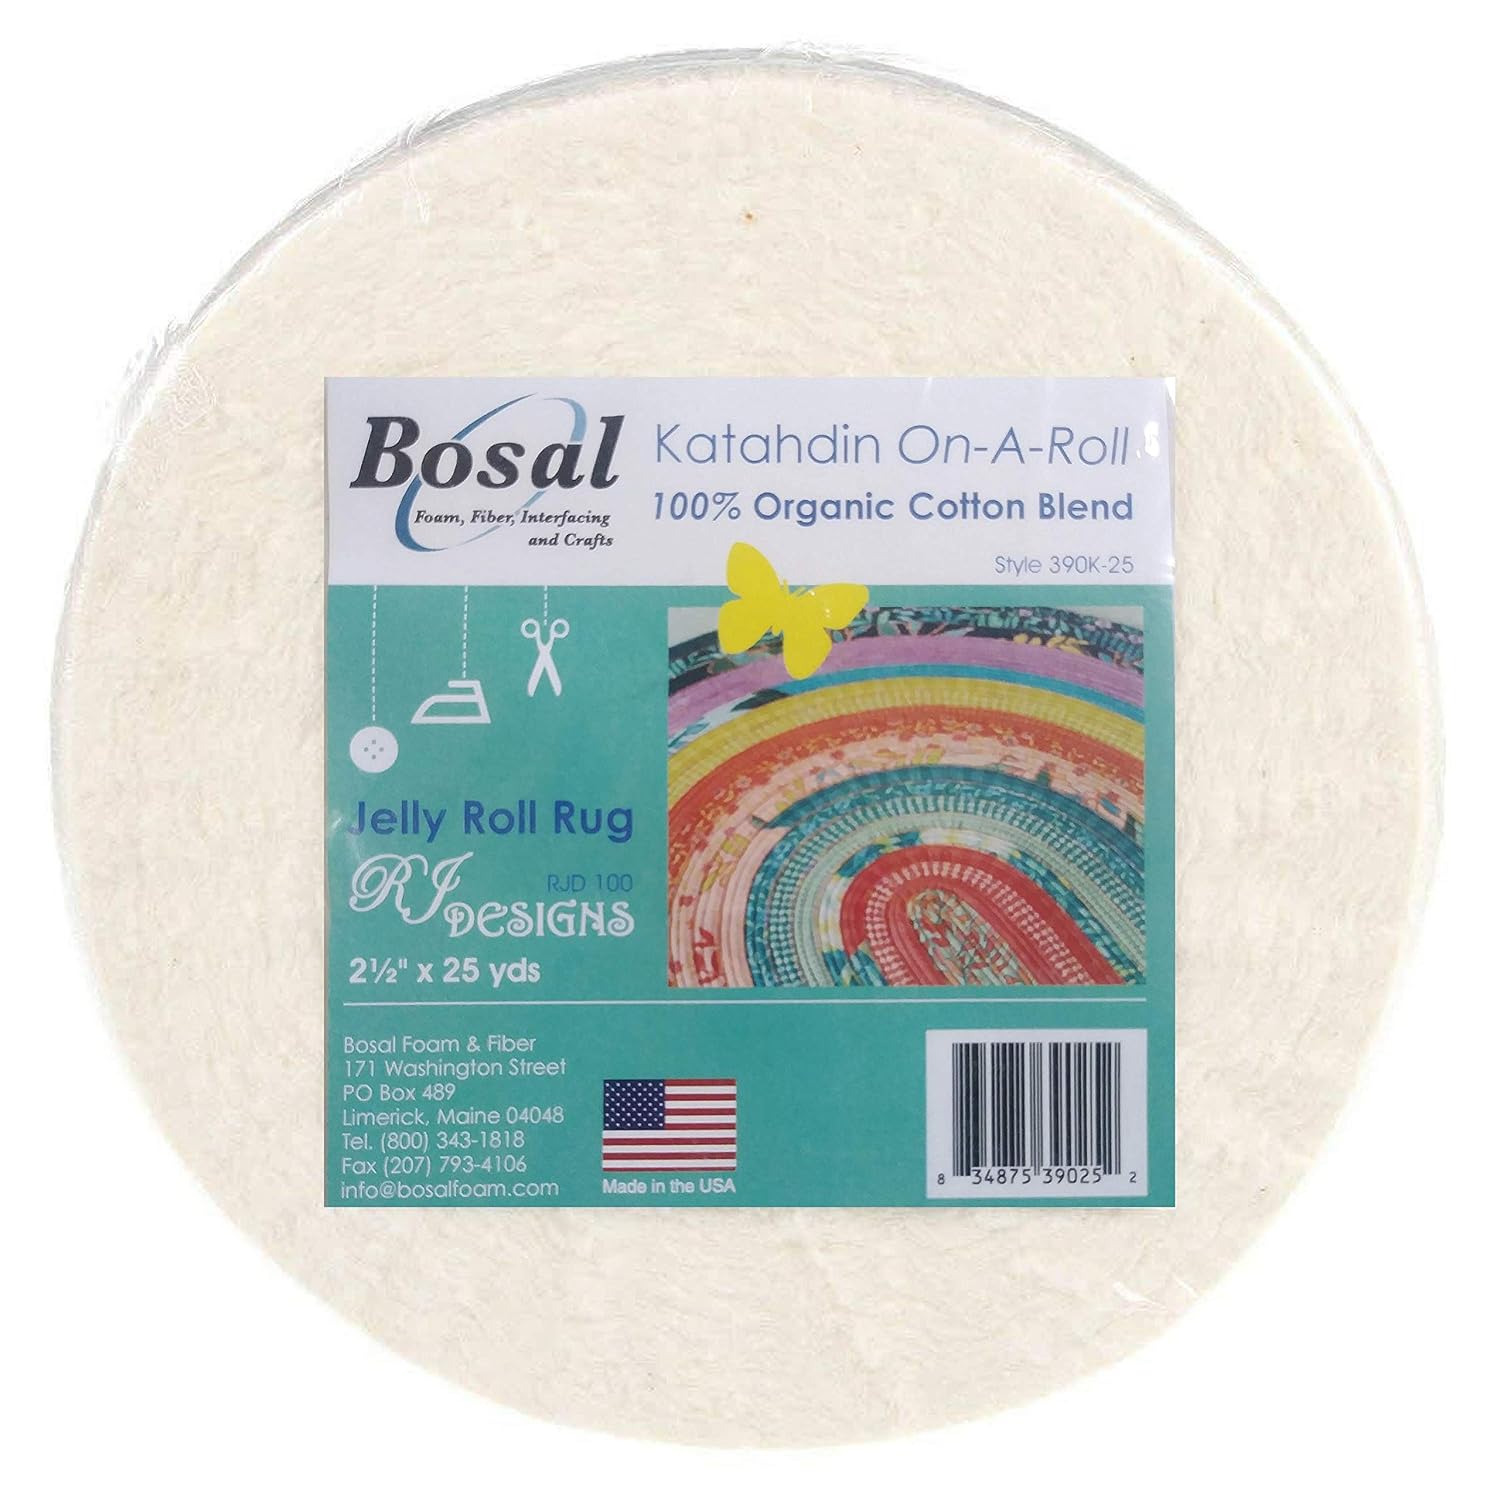
I then folded the strip back and forth onto itself, securing each end with rubber bands, and have it ready to sew with the pre-cut batting which I bought in a 50 yd wheel.  (pictured is a 25yd wheel but they also come in 50yd wheels).

You can also cut your own batting into strips and join them end to end with either batting tape or zig-zag stitches. With 96" wide batting 1.5 yards of batting are required. It's much easier to just use the pre-cut batting. I have noted that the pictured batting wheel is 2 1/2" wide. The 50yd wheel that I have is only 2 1/4" wide. This should make it a bit easier to fold it inside the fabric strip.

to be continued...

Cinnamon Stars (cont'd) and a New Cross-stitcher

I picked up the Cinnamon Stars project again and started stitching some of the pumpkins and corn stalks, etc.
There's not too much left to stitch on this one.

Today a few of us went over to Jeanette's to stitch and gab. Diane got her first cross-stitch lesson and started in on her "Waiting for Santa" piece. Jeanette got her going on 32ct linen fabric.

Diane was very proud about completing her first sheep.
Knowing Diane, she'll be stitching like a fiend very soon.

Saturday, 27 April 2019

Road Trip!

Yesterday 7 of us headed out on a stitching/quilting road trip to celebrate Marilyn's and my April birthdays. This was organized and executed by Jen1 - owner of a 7 passenger/3 row mini-van.

Jen had prepared goodie bags for each one of us. There was also a mini Mars bar but I ate it.

Our first stop was Cindy's Needleart in Richmond Hill. It was a very impressive shop with very expensive needlepoint canvases, threads, and many, many samples.
Most of the patterns are designed by local artists. Anyone who likes canvaswork in addition to needlepoint would love this shop. I bought a skein of pumpkin-coloured hand dyed floss for my Cinnamon Stars project.
We then moved on to The Enchanted Needle in Woodbridge.  There was a wide variety of books, kits, threads, patterns and fabrics.
We then headed to Port Credit to have lunch and go to Gitta's. I've only ever been to this shop's booth at the CreativFestival (back when I used to attend). We spent quite a bit of time looking at all the lovely things. Here, we finally got a shot with Jen1 in it.
Behind me: Marilyn, Sue, Barb, Jen1, Jeanette, and Poppy in the back.
This shop carries almost anything one could want and if they don't have it, they can certainly order it.

Since we were so close, we walked down the street to Linda's Craftique - a yarn shop. The salesperson was very apologetic that the store seemed emptied out because most of their stock was being set up in Toronto for the Knitter's Frolic. Some of us chose to explore the basement for discounted items and (ahem) the restroom.

This was another shop whose booth I've only attended at the Frolic. It was here I found a bottle of Flatter smoothing spray that I was looking for in anticipation of making my jelly roll rug. I had purchased and downloaded the .pdf of the pattern the previous evening.
We then piled back into the van and headed 1/2 hour northwest to The Hobby Horse Quilt Shoppe -  in a barn north of Georgetown.

There we oohed and aahed over many of the fabrics and patterns. I purchased a bunch of felted wool scraps

and a jelly roll for my first jelly roll rug.
These are the patterns in the roll of strips.
It's probably a good thing I don't live closer to this place as it could certainly be disastrous to my financial security. I also bought a couple of  fat quarters
to go with the lovely fabric Jen1 gave me for my birthday.
I'll be using them to make a Bionic Gear Bag in the very near future.

There were also 4 little pumpkin cross-stitch kits
and a sheep kit that were deeply discounted that made it home with me.
They're complete with fabric, full skeins of Presencia threads (new to me), pattern, instructions, and needle. For the pumpkins, I'll toss the Aida fabric and stitch them vertically on evenweave or linen as a bell pull. The fabric with the sheep kit is the aqua colour in the background so unless I can find evenweave this colour, I'll stitch it on the coloured Aida.

Two paper-pieced quilts on display that really caught my eye were the poinsettia quilt
 and the poppy quilt. They both measured about 2' x 3'. I'm very intrigued.

As none of us had any constraints on our time, we decided to go to Len's Mill Store on Orfus Rd behind Yorkdale on the way home. Thanks to Sue's Waze app on her phone, we managed to avoid standing still in Friday rush-hour traffic.

This store had been totally redone and most of the cheap junk has been moved out. Its primary stock now is sewing/quilting/upholstery/drapery fabrics , yarns and accessories. It is spread out more and well organized. Most of us augmented our fabric stash. I bought some evenweave fabric for stitching which I plan to tea and coffee dye, thread for my jelly roll rug, and some discounted fabrics.

We got out of there at about 7:45. By the time we got back to Jen's place it was 8:30 and most of us had been on the road at least 12 hours. What a wonderful way to spend a day - shopping with like-minded crafty friends. So much fun! And we're not done! Tomorrow several of us are going to Jeanette's for stitching most of the day.

Thursday, 18 April 2019

April's Trillium Guild Meeting.

At our April meeting, Kim brought a guest, Doris Kidd. Doris is an avid knitter and embroiderer. She came to show us a special piece Kim had framed for her, and tell us the story of its inception.

She began it as an 11 year-old child in England in 1939, just as WWII was starting.

"This embroidery started as a linen tablecloth as a motif with Victorian ladies in a garden with over 50 coloured silks".

It was put away for decades and accompanied her and her husband when they immigrated to Canada in 1953. Recently, Doris gave each daughter a framed piece of the tablecloth.
For show and share, Jeanette showed us her red rose thread painting that was designed by Carol Arsenault.
Marion made this Hardanger square that had been designed by Judy Chen of the Toronto guild.
She also stitched this Trish Burr whitework design, modifying the colours to varying shades of taupe.
Sharon's stitched piece was mounted on a box that had been custom made by her friend, John.
Jeanette also showed us her finished whitework piece she had started last summer at the EAC Seminar in PEI. The class taught by Jenny Adin-Christie, a freelance specialist embroiderer who trained at the Royal School of Needlework in England where she resides.

"Jenny specializes in traditional whitework techniques and her latest commission included work as part of the RSN team, on the wedding dress for the marriage of Catherine Middle to Prince William."

This is one of Jenny's designs. Jeanette spent a lot of time at Elim and last week getting it finished up. She admitted that she did a significant amount of ripping out and re-stitching before it was completed.
Jeanette designed and stitched this canvaswork piece and mounted it on a pocket of a canvas tote bag. 
Meagan stitched this "Hen and her Llama".
She used variegated threads and a button on this cute, kitty cat sampler.
Sylvia showed us her completed miniature that she had started at last month's meeting.
She also showed us this 'windows' piece which had been a themed project with another guild a couple of years ago.

Shelley's daughter , Gillian, stitched this as a wedding gifts for friends for their upcoming wedding.
Jen got a shot of me in action while I was going over the steps to make needle minders.
After only a few minutes and a minimum of confusion, our little make-and-take project was completed.

Here are some of the finished needle minders.
Next month, Rosemary Oliver will bring in many of her fibre art pieces and talk to us about her process to create them.