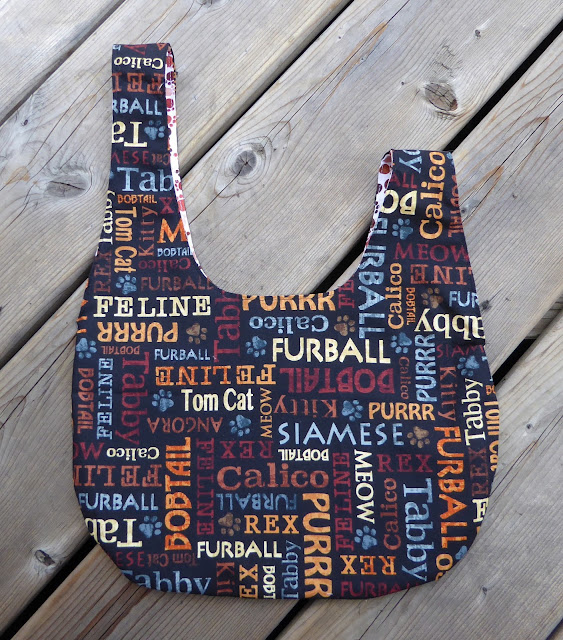
Mo came over this morning for a sewing coaching session. She made a lined zipped bag with boxed corners.
This tutorial is almost exactly what we did. She did very well.
After that, I was inspired to make some luggage tags for my upcoming trip to Iceland.
I had made some a while back and tried to find the pattern I used. It is a hybrid of
this one and
this one. I couldn't find the pattern but 'unvented' one that I had previously done.
When folded up, it looks like this.
Opened out, it looks like this. The vinyl window is bordered by bias tape made from the inner fabric and sewn right onto the vinyl with the open end towards the centre.
 |
| A business card fits nicely in the vinyl window. |
Then a buttonhole is centred near the end to accept the bias ties.
I made two of these, completing each step on both as I went along.
Then I made another one with some of the cute fabric I bought a week ago with Diane.
Here are the instructions: (pardon the crappy hand-drawn diagrams)
- Cut a 3.5" x 10" strip from each fabric, a 1.5" x 24" strip of the inner fabric to make the double fold 'bias' tape* (not on the bias, though), a 2.5" x 3.5" piece of clear vinyl, and a 3" x 9.5" piece of fusible interfacing. *OR make 12" of bias tape and use 11" of grosgrain ribbon to attach the tag to the luggage.
- Fuse the interfacing to the wrong side of the inner fabric, centring it. There will be 1/4" edge around the interfacing.
- Make the double fold tape with the long strip by folding and pressing in half lengthwise. Then fold the long raw edges inwards, meeting at the crease you just pressed. Press.
- Starting part way down the long side of the vinyl, stitch the bias tape all the way around the vinyl piece, I sewed to the edge, snipped the threads, mitered the corner by folding the tape along the next edge and re-starting the stitching. I then lapped the tape over where I started.
- Topstitch the open edge of the rest of the tape. This will be used to attach the tag to the luggage. OR you could use grosgrain ribbon.
- Fold the inner piece in half and finger press to mark the centre. Then topstitch three sides of the bound vinyl piece to the inner piece, leaving the short edge at the centre unstitched. That is where the address card (business card size), will be inserted.
- Fold 10.5" tape (the remainder from edging the vinyl piece) in half lengthwise and lay the raw edges side by side, centred and flush with the end of the half that does not have the vinyl window. Lay the sewn strip towards the centre.
- With right sides together, pin all around with the outer fabric on top.
- Mark a diagonal at each corner starting 1.25" in from each edge. This will be your stitching line when you get to that spot at each corner.
 |
| Right sides are together here. Draw on wrong side of outer fabric. |
- Starting near the centre, stitch 1/4" seam, pivoting 45 degrees when you arrive at your diagonal at each corner. Continue stitching around until you get past the last corner about 1/2" and backstitch. This leaves an opening adjacent to the vinyl piece for turning right side out. Trim all corners near stitching at 45 degree angle.

- Turn right side out, reaching inside to grab the folded tape inside.
- Poke all the corners out and finger press the open edge closed. Press, to ensure crisp edges for topstitching.
- Topstitch the opening closed, then all the way around the tag.

- Fold the tag offsetting the ends and mark both sides of the folded tape. This will be the ends of your buttonhole.
- Stitch the buttonhole and clip it open.

- Insert a business card or address card into the vinyl window,
 then slip the folded tape loop through the buttonhole. Put the loop through your luggage handle and insert the rest of the tag through the loop.
Here's the other side.
Outside:
Inside (of the other tag):
It takes me about an hour to do each tag. The binding around the vinyl is the fiddliest part. After that, it's smooth sailing.
These tags will help identify luggage and are very secure. I like that the personal information on the business card in the window is covered but accessible if necessary.
Back when I did the original tags, I also made a matching cosmetic bag. The tags and bag were for friends who were going on a river cruise in Europe a couple of years ago.
Another friend went on a painting (watercolour) trip to France a while back so I made these for her. The fabric was PERFECT for her. I remember using a round charger plate for the curve on the top. You can get a lot more stuff in the bag that way.
I used fusible batting - fused to the outer fabric - to give it structure. Boxing the corners ensures that the bag will stand up and gives a nice, flat bottom.
Her sister was also travelling with her so I made her a set reversing the fabrics.


