
I added a couple of extra rounds of the background colour before declaring 'finished' on the stitching on the Pic N' Mix Clutch. I wanted to use the line between rows and columns as a stitch guide when sewing the zipper and the lining. It worked really well. It's unfinished in this photo but the finished item had 3 colums and rows of the background colour out from the circles. One row/column would be in the seam allowance. I wanted two rows/columns to show once finished.

Once finished sewing everything, I decided to not use the little thong included in the kit for a zipper pull. Instead, I fashioned one from the beads in my stash.


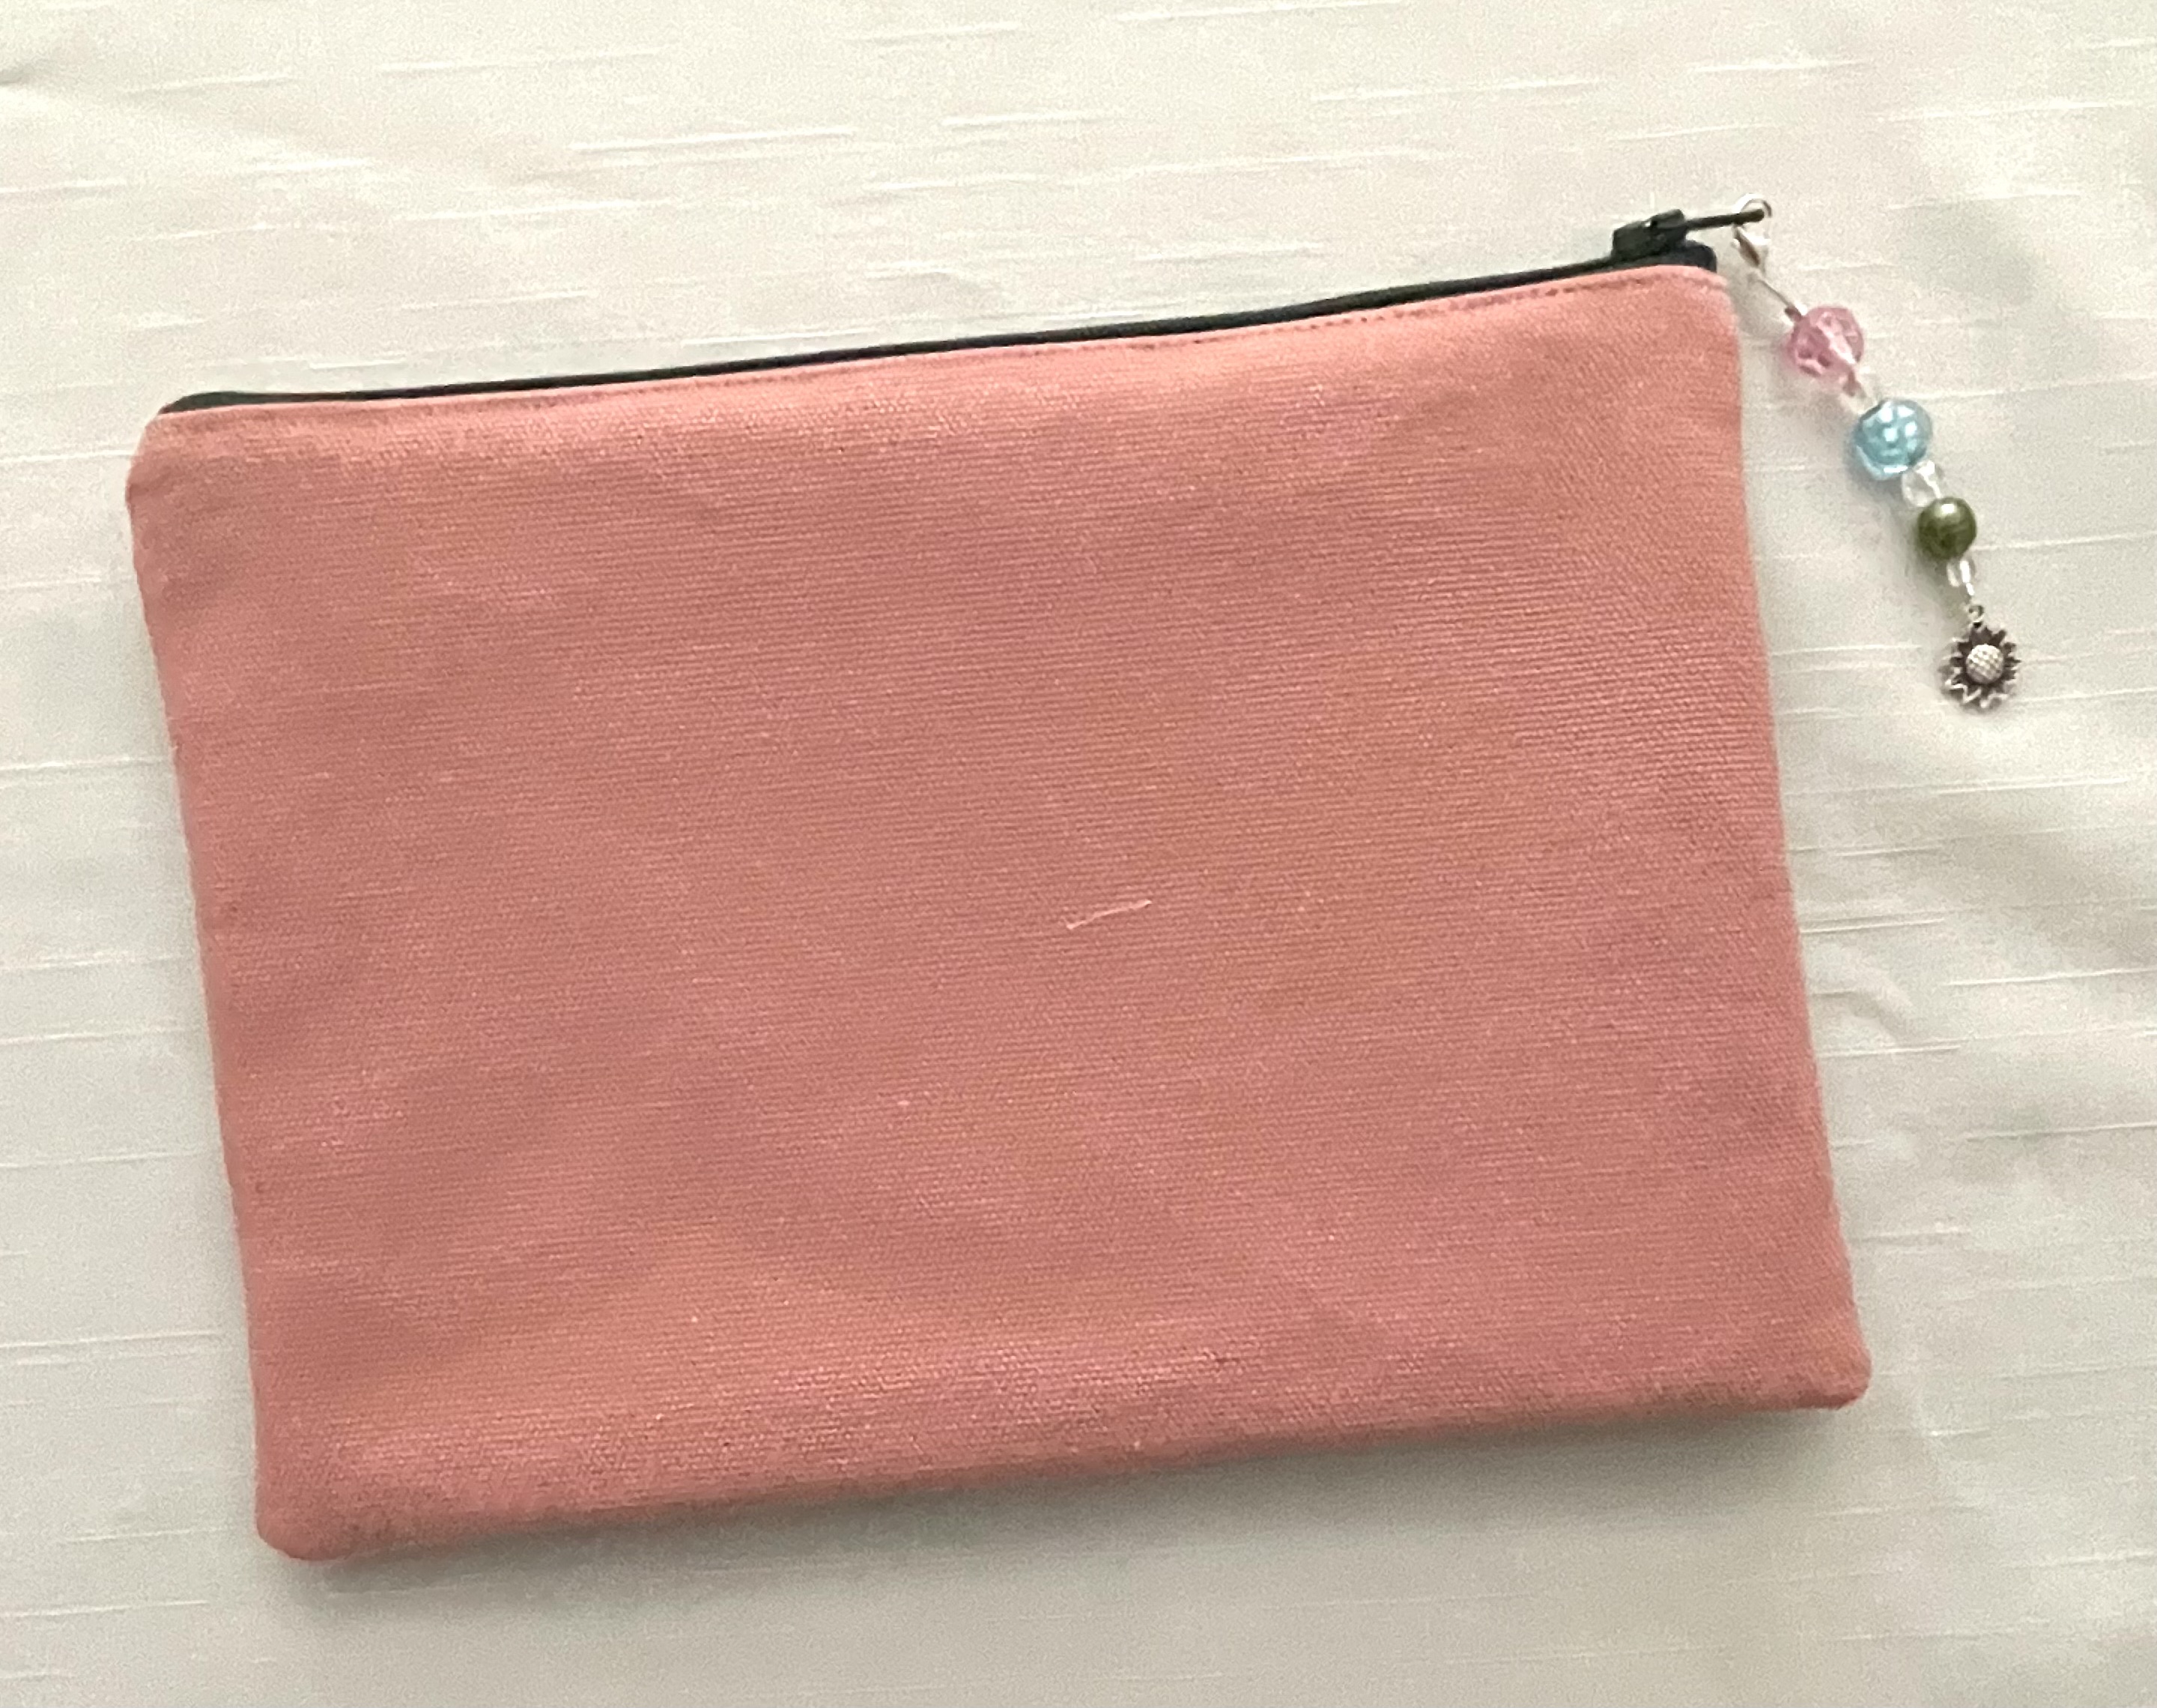
To make sure the zipper went in evenly, I hand-basted it in place first. It made sewing inside the first row of stitches quite easy. I didn't bother removing the basting stitches as they'd be forever hidden in the seam allowance. I also stitched inside the first columns of stitches down the sides and along the bottom. I kept a seam open on the side of the lining for turning. Since I didn't have matching thread (orange) I glued the opening closed - in the seam allowance.

Years ago, I did a little sample this way. I was trying to emulate a Kaffe Fasset pillow design I had seen somewhere. The 14ct fabric worked very well with DMC floss. I still might have more of this canvas in my stash.

This piece hasn't been blocked so skews because I used a basketweave stitch

rather than crosses which would have balanced out the stitching. A good, wet blocking would certainly square this up nicely.
This is what the back looks like: (see why it's called 'basketweave'?)
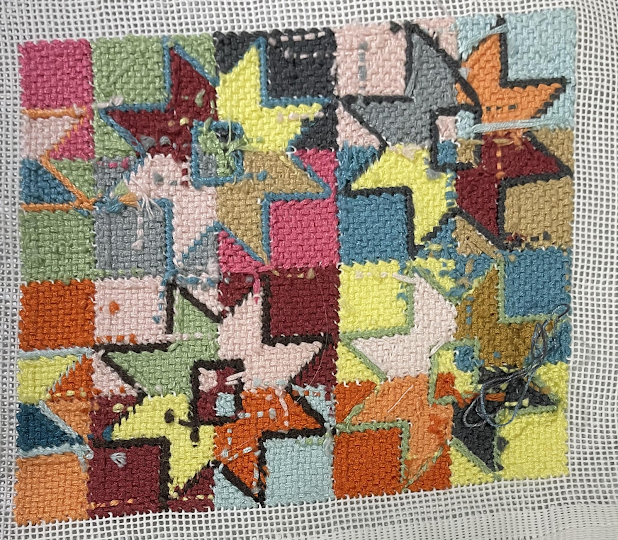
It would be pretty easy to transfer any design onto the monocanvas using a Sharpie and a window or lightbox. Now my brain is whirling with ideas to create my own stitched piece to make other clutches.
No comments:
Post a Comment