Sunday, 22 September 2019

End of Another Season

Tomorrow is the beginning of autumn. We're having a splendid, hot day today and I got a lot of chores done around the house - swapped out the new wasp trap, programmed and installed my new garage door opener keypad and took the previous ones down, washed and bleached the caterpillar castle to get it ready to store for another year.

Yes, folks, I released the last two monarchs today. They were my 37th and 38th releases of the season. It was a pretty good year and I'm hopeful the overall population is up from last year. We'll know better when they amass in Mexico a couple of months from now. Aerial photos are taken of that area to determine the population. Here's a photo from 2014. The orange hue on the trees are the butterflies.

Then we need to keep our fingers crossed that no disasters happen while they're down there or their offspring are on the way back north next spring.

At one point today, I had 2 monarchs in the castle and three others flitting about the yard and garden. There were also painted ladies and white cabbage butterflies.

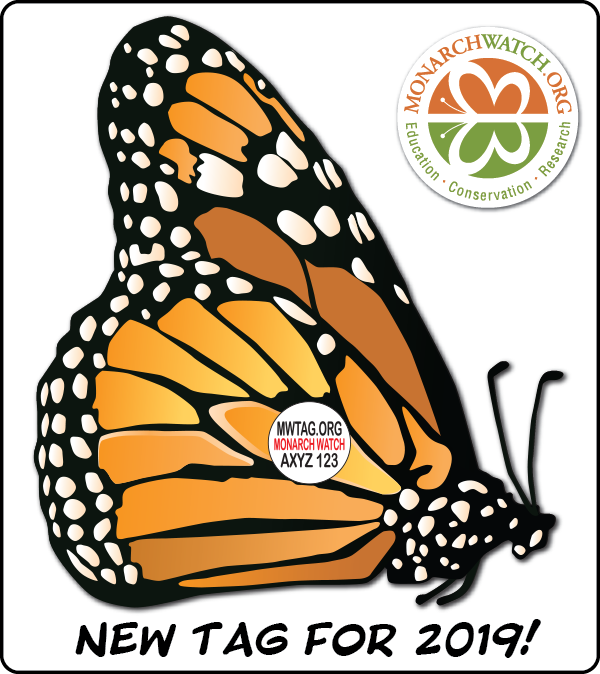
Next year I'm going to tag the supergeneration - those that eclose after the beginning of August. It would be great to have one of my tags recovered.
Image result for monarch tags 2019

Crescent Swallowtail Shawl with My Handspun

I actually used my handspun to knit something! I really like the Crescent Swallowtail Shawl - the adaptation by Susan Rainey of Evelyn A Clark's 'Swallowtail Shawl'.

I've knit it a couple of other times using hand dyed norbouillet yarn,
and using Yarn Indulgences Indulgent Fingering yarn.


I don't even remember what this fibre was but it is lovely - if I do say so myself.
It really is all about the blocking. I run the bendable blocking wires through the main points and pinned out the points and then each picot. The picot edge was *CO2, BO5. Repeat from * making sure the 5th BO is on the point at the end of the k1 column between the yarn over columns. I bought the blocking wires several years ago here on Etsy.

I love these colours together.
The wall by my front door is great for displaying my knitting projects. Stuff just sticks to the bricks.
You'll note it doesn't scoop up in the middle of the straight edge because there is a 34 row garter stitch tab to start.

The first pattern is called 'Budding Lace' and is a fairly easy 8-row pattern.
Then there's the 'Lily of the Valley' pattern using 'nupps' (rhymes with scoops). I was supposed to do it twice but knew I wouldn't have enough yarn so I only did rows 1 - 12 of that chart (B).
The lace edging was supposed to be deeper but I eliminated a few rows - again because I was running out of yarn.

I used a picot bindoff mentioned above. I didn't have enough yarn for that so I rifled my stash for laceweight or fingering weight yarn and found a skein of KnitPicks Gloss Lace in the Port colourway. 
It wasn't an exact match but good enough, given the variegation in the handspun. It also made for a very consistent bindoff.
I really love this pattern. This is not the last time I'll be using it.

Saturday, 14 September 2019

In the Garden This Morning

There is still so much going on in the garden. Painted ladies and other butterflies are still enjoying the butterfly bush.

This painted lady had a chunk out of its wing. It came back a few times to nectar on the countless blooms.
There were a couple of chunks out of this cabbage white butterfly's wings as well. It's also faded.
This one is intact and is brightly coloured. A recent eclosure perhaps?
I released two more female monarchs today.

This was the ceiling of the caterpillar castle three days ago.
I used to peel the empty chrysalids off the ceiling until I pulled a bunch of full ones off in the process as the mesh that attaches them to the ceiling is enmeshed with neighbouring ones. I now leave them until all in the area are finished.
There are 4 left. All should be finished by the last week of September.

Tuesday, 10 September 2019

Fat Quarter Project Bag

I made a project bag using only fat quarters - 18" x 22" each. I wanted the same size as my others so I had to make the vinyl window proportionately bigger.

This meant less fabric below the zipper and below the vinyl.
I also thought I'd try to use batting instead of interfacing.  I used the 30 degree marking on my cutting mat to draw the first line in chalk and spaced the rest of the lines 2" apart. This is my go-to method for doing basic machine quilting.
The Kaffe Fassett fabric was a fat quarter I picked up for $2.99 (Canadian!) at Len's Mill Store.

I had the gold fabric and zipper in my stash.
Because there was so little fabric below the vinyl, and the batting made it thicker, the lining bunched up on the bottom and was clearly visible.
Next time, I'll make the big piece at the back that is folded over an inch shorter and will add the inch to the bottom piece of fabric. Also with a window that big, there really should be a decorative fabric for the lining. I'll also skip the batting and just use firmer interfacing.

I learn something every time I sew something.

Monday, 9 September 2019

Busy Day in the Garden

I haven't brought in any eggs for a couple of weeks. The second-last larva is getting ready for its 'j' formation and the last larva is still eating voraciously. It will pupate in a day or so as well.

Out in the garden we've been getting lots of monarch visitors. Could they be ones I've released? New ones stopping in on the way south? Who knows?

The butterfly  bush continues to be a big hit. This monarch has some damage to its wings. There's a chunk out of the fore wing and a bit of crumpling on the hind wing.
Another landed on the orange zinnia.
Two seemed to prefer the yellow zinnias.
This one didn't seem to mind sharing the zinnia with 2 Japanese beetles. After the butterfly flew away, I zapped the two beetles with my racquet zapper like one of these.
The butterfly bush is a bit hit with the bees as well.
This time of year the Joe Pye weed is at its best and quite popular with the butterflies and bees.
The warm, sunny days are the best for the monarchs. They're mustering along the lakeshore, preparing for the long trek south. They need to get a move on because the cool weather is coming. I still have a few pupae and 2 larvae on the go. Things should be wrapped up by the last full week of September.

Project Bags - Clarifying the Last Steps.

Last year, I figured out how to make a project bag with a vinyl window and wrote up the instructions so I could teach the technique to my sewing friends.  I always had trouble putting the last couple of steps in words.

This weekend, I made one and photographed the last few steps so I could show it to one of my Monday morning stitchers as she was wanting to make her own bags.

If you want the .pdf of the instructions, you need to leave me a message with your email address in the comments below.

The tricky part was what to do after the zipper was installed and the square piece was added to it. At this point, the lining (on the back of the printed fabric shown) is attached to all the pieces and topstitched. Unzip the zipper to at least halfway.
Now take the bottom edge (left edge as pictured above) of the printed fabric and fold it to match the raw edge on the right side with right sides together together. Do the same with the lining on the lining side.

Here, the fold is at the top and the clips are down the sides. If using pins make sure you do not pin through the vinyl. The clips by the zipper on the right are holding the open ends of the zipper together so they don't leave a gap when sewing. I had to use my walking foot to sew down the sides but have also done it without. If you use a 16" zipper (pictured), you don't have to worry about hitting the metal bits with your sewing machine needle. The just trim off the excess later. However, I have made this bag with a 14" zipper and just marked where the metal bits were to make sure I didn't sew there. You could also put fabric tabs on each end of your zipper to ensure you don't hit metal.

Mark a 5" opening on the bottom of the lining. I use an erasable pen from Staples. Frixion pens are good and made by PaperMate (as are the regular erasable pens) but a bit more expensive.


This is what the interfaced patterned fabric looks like on the flip side.
Sew 1/4" seam down the sides through all the layers stopping short of the bottom by 3/8" or so.

Fold the lining back, and sew all along the bottom of the patterned fabric.
I pinned the lining back so it wouldn't get caught.
Flip the bag over and folding back the printed fabric, sew the lining bottom from the corner to the 5" mark. - backstitching to reinforce it. Lift the presser foot and slide the lining back to the other 5" mark, backstitch and sew from there to the other corner. You're almost finished!

Put your hand through the 5"opening between the lining pieces and reach through the zipper to turn the piece right side out.

Don't worry if the vinyl gets crinkled a bit - it can be smoothed out with a warm iron from the back through the fabric.
Poke out all the corners carefully with a pointy yet blunt object (chopstick, pen with the nib retracted, closed blunt scissors). Sew up the 5"opening in the bottom of the lining either with a narrow seam or by hand.
My next iteration of the bag will but using a bigger piece of vinyl so a fat quarter (18" - 20") can be used instead of pieces of fabric 23" long. Basically my vinyl will be about 5" longer.

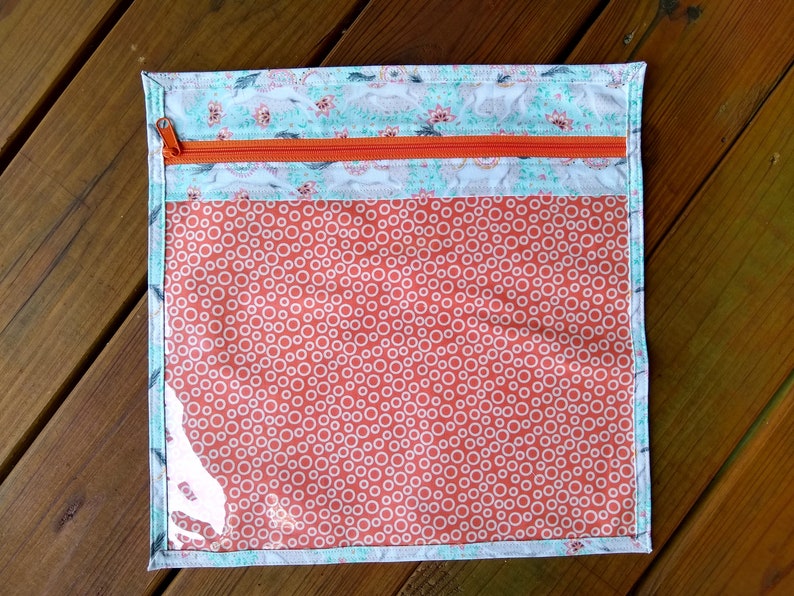
A lot of people are making the project bags with vinyl on the entire front below the zipper and using binding to hold the back and front together like this:
Image result for project bag cross stitch
Here's a tutorial on how to do that.

My personal preference is the method that doesn't use binding but that's just me.

Where does one get vinyl? Bedding  (sheets, duvets, ets.) comes in sturdy vinyl that can be cut to the right size. Our local fabric chain (Fabricland) sells it back in the all-weather fabric department. It's in long rolls (54"? 60"?)

I have heard cautionary tales about the vinyl turning fabric yellow after lengthy storage. I don't know if some vinyls are better than others so I suggest you not keep projects in the bags indefinitely.