
This weekend, I made one and photographed the last few steps so I could show it to one of my Monday morning stitchers as she was wanting to make her own bags.
If you want the .pdf of the instructions, you need to leave me a message with your email address in the comments below.
The tricky part was what to do after the zipper was installed and the square piece was added to it. At this point, the lining (on the back of the printed fabric shown) is attached to all the pieces and topstitched. Unzip the zipper to at least halfway.

Here, the fold is at the top and the clips are down the sides. If using pins make sure you do not pin through the vinyl. The clips by the zipper on the right are holding the open ends of the zipper together so they don't leave a gap when sewing. I had to use my walking foot to sew down the sides but have also done it without. If you use a 16" zipper (pictured), you don't have to worry about hitting the metal bits with your sewing machine needle. The just trim off the excess later. However, I have made this bag with a 14" zipper and just marked where the metal bits were to make sure I didn't sew there. You could also put fabric tabs on each end of your zipper to ensure you don't hit metal.
Mark a 5" opening on the bottom of the lining. I use an erasable pen from Staples. Frixion pens are good and made by PaperMate (as are the regular erasable pens) but a bit more expensive.


Fold the lining back, and sew all along the bottom of the patterned fabric.


Put your hand through the 5"opening between the lining pieces and reach through the zipper to turn the piece right side out.


A lot of people are making the project bags with vinyl on the entire front below the zipper and using binding to hold the back and front together like this:
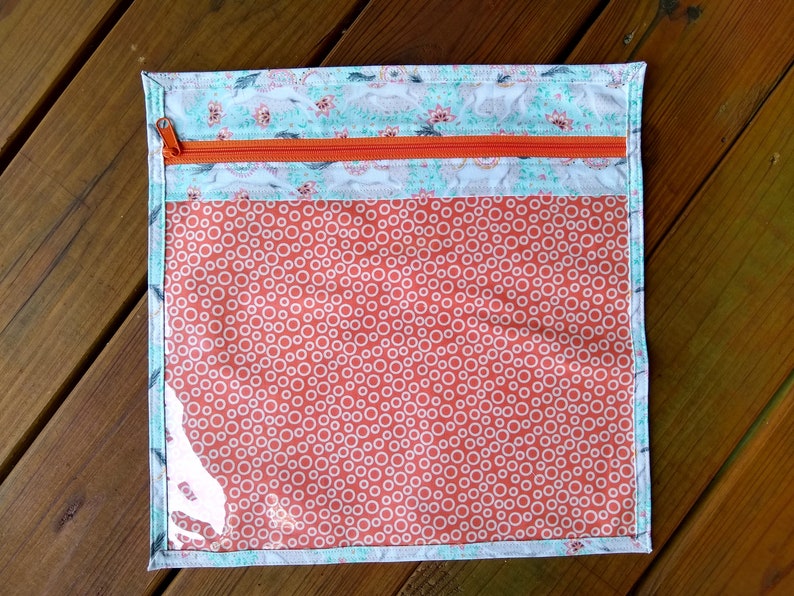
My personal preference is the method that doesn't use binding but that's just me.
Where does one get vinyl? Bedding (sheets, duvets, ets.) comes in sturdy vinyl that can be cut to the right size. Our local fabric chain (Fabricland) sells it back in the all-weather fabric department. It's in long rolls (54"? 60"?)
I have heard cautionary tales about the vinyl turning fabric yellow after lengthy storage. I don't know if some vinyls are better than others so I suggest you not keep projects in the bags indefinitely.
No comments:
Post a Comment