
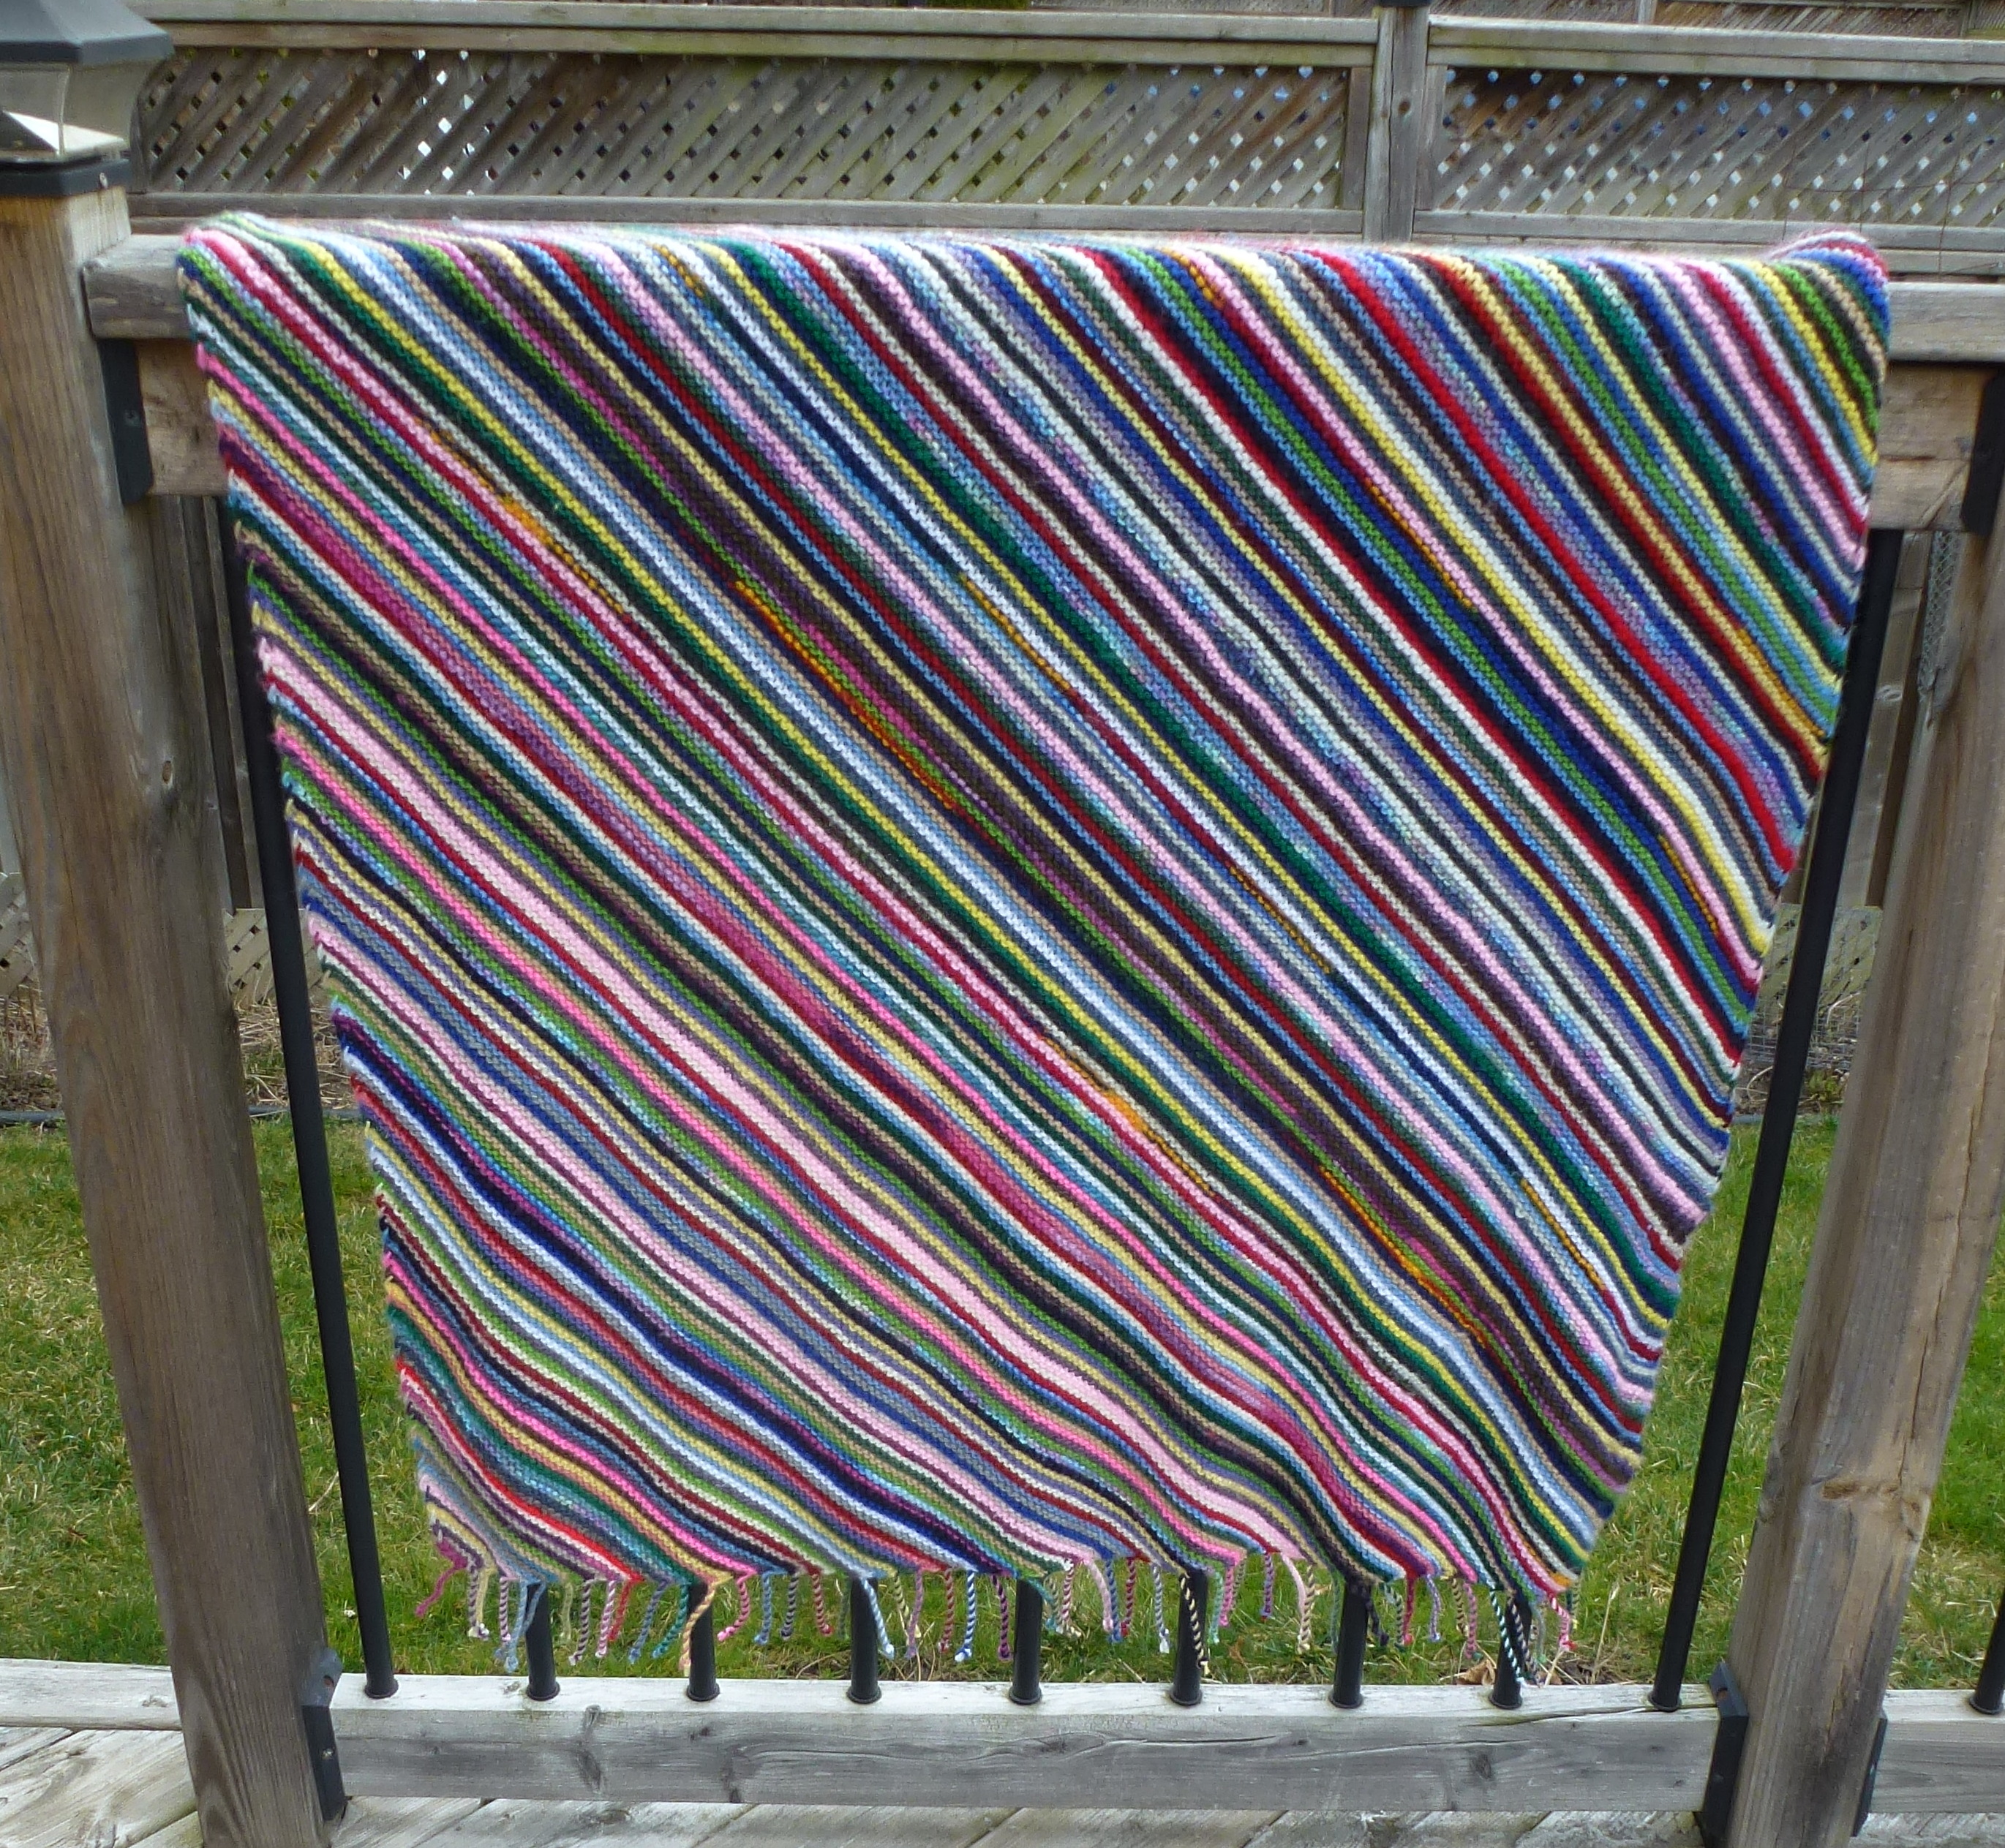
While watching TV last night I finally finished twisting the fringe on my scrappy worsted Excavation blanket.

I counted the number of twists to keep the angle of twist on each fringe the same. Holding all 4 strands together tied a knot at 3" and trimmed. The two colours then twist together in the other direction. Any bumps get smoothed out by pulling.


I deviate a bit from the pattern (free on Ravelry). Here's how I do it. **At the beginning of each colour I leave a 6" tail, knit into the front and back of the first stitch, and knit across the row, then turn. With yarn in front (wyif) I slip the first stitch, move yarn to the back and knit into the front and back (kfb) of the second stitch, then knit across the row. Leaving a 6" tail I tie the two yarns together and pick up the next colour. then repeat from **.
Once the blanket is at the desired width, Knit a second triangle and graft the two triangles together. This creates a square blanket.
If a rectangular blanket is desired, once the blanket is at the desired width, ^^start a new yarn (no more fringe), slip the first stitch wyif then move to the back and knit the next two stitches together , then knit across the row. So you are decreasing at the beginning of the right side. At the beginning of the return row, slip the first st wyif, then kfb into the second stitch and knit across the row. You will increase at the beginning of the wrong side. Cut the yarn, start another yarn and repeat from ^^. It's a good idea to work your ends in as you go so you don't have to do it after. The diagonal growth of the blanket is maintained. Continue this until the desired length of the blanket is reached. Then knit the second triangle and graft to the lengthened piece. When you graft the two together you won't see this yarn as it will be in the 'ditch' of the garter stitch.
Another tip... to make the blanket nice and squishy go up a couple of needle sizes from the largest size on a ball band. In this case I used a 5mm needle. On the fingering weight/sock yarn blankets I used a 3mm needle. I also try to use a contrasting yarn on every subsequent row - usually light then dark then light then dark. I even used variegated yarn. I didn't worry about how it would turn out. Yarns from my late mother-in-law's stash were used as well as some DK yarns.
No comments:
Post a Comment