Sunday, 24 September 2023

More Stitching on My Denim Shirt

I wanted to add some more stitching to the yoke of my denim shirt. I bought yet another pattern from and Etsy vendor.

Instead of daisies, my plan was to stitch echinacea. I knew the changes would be easy to execute.


They worked out well. It doesn't matter that the printer printed the daisies. I knew when I wash away the water soluble stabilizer, the echinacea will remain.

I changed the colour of the forget-me-nots to contrast a bit better with the blue of the denim.

Most of the stems were supposed to be split stitch but I really like the look of whipped backstitching.
I thought the recommended colour of the poppy needed to be redder. I checked the colours of another poppy piece I had stitched, and used them.
I've heard a lot about short and long stitching. Some folks hate doing it. But I rather enjoyed doing it and the overall effect.
The lavender was supposed to be done with bullion stitches but I chose to do lazy daisy stitches. I could have also used closed fly stitches.
I used two different techniques for the butterfly bodies, then tackled the long and short stitches on the wings. I could see where I could add a couple of one strand French knots on the lower wings.

I also needed to add the brown on the tops of the wings and I was done.

I just finished washing off the stabilizer and look forward to it being dry and pressed. 

The next morning...


I'm trying to decide on a sunflower pattern on the other side of the centre motif. More research is needed.

Next week will be busy including a couple fun outings with Jen1. It's always nice to have something to look forward to. My friends are the best.

Friday, 22 September 2023

Sewing with Stitchers

On Wednesday afternoon Jen1 and Marilyn came over to make project rolls. They're very useful for storing stitched pieces awaiting fully finishing. 

Basically, it's a small diameter mailing tube with some quilted fabric wrapped around it and ribbon to tie it up.
I was initially inspired by Vonna Pfeiffer's tutorial and then made several for my own use and as gifts.

Jen1 arrived with the quilting done, ready to attach the piece to the mailing tube. Marilyn got her fabric and batting cut, sewn, turned right side out, topstitched around the edges, and completed the quilting.  She only has to sew on the ends of the tube and stitch the ribbon on.

Considering Marilyn doesn't have a lot of sewing experience, she did so well! 

It was a really fun afternoon. 

That evening was our guild meeting. I won't go over all the details here but here's a link to the guild's post featuring this month's Show and Share, and our introduction to a stitching Round Robin.

Skip and I had a very nice week with visitors - Scooter last Saturday, Skip's brother and sister-in-law, Andy and Nancy on Sunday, and Norm and Lena - newly returned from living in Sweden for 6 years - yesterday. It was so nice to see them and we really appreciated the effort they made to come for a visit.

I continue to search for fun surface embroidery projects. I have the refund from one of the retreats I bailed on burning a hole in my PayPal pocket. Whenever I go to buy something I just click 'PayPal credit' and voilà - it's mine. Paid for by money I already consider spent.

I've also been making a bit of progress on my sunflower pouch. 

I need to take more progress photos and the lighting varies depending on the time of day, but I made a little movie.


I'm really excited to get the stitching done and fully finishing it and definitely want it done by next month's guild meeting.

Jen1 and I are planning to spend the day at Elim next Thursday. The rest of the Elim gang will be there from Thursday to Sunday. It's always a lovely time of the year for the drive there with all the fall colours. Hopefully then next day I'll accompany Jen1 to the greater Bowmanville area to pick up a sewing machine accessory and pop over to Annie's outside of Newcastle to check out their wares.

It's so nice to have things to look forward to and fun people with whom to spend time.

Thursday, 14 September 2023

Yesterday and Today

I got the big Hardanger motif on the lower panel stitched yesterday. I was supposed to start in the centre and work outwards but it was easier for me to count down from the Kloster blocks and start at the top of the cluster and work towards the centre.

 
This made it tricky stitching underneath the long, lighter blue strands. Had I started in the centre like I was supposed to, the long strands would have gone over the already-stitched kloster blocks beyond the center. Oh well, it worked out OK.
I just got started on the sunflowers but was too tired to continue. Hopefully tomorrow I'll get some good stitching done.
There are always a bunch of chores to do inside and out of the house but I try to make time for my mental health activity - being creative in some way every day.

Once all the stitching is done, there is still a lot to do to FFO this into a pouch. I think it'll be really nice when it's all done.


Monday, 11 September 2023

Sunflower Sewing Pouch

I started the Sunflower Sewing Pouch last night, a Durene Jones pattern from her Etsy shop. The pattern calls for 25ct linen.

I used the same fabric as the scissor case, 28ct tea dyed linen from Charles Craft that you can get in the tubes at Michaels. I also already had all the required threads from the scissor case project and am stitching 2 over 2. The perle cotton looks a bit lumpy on the smaller count fabric but looking at the scissor case ( a couple of photos below), it looks good once FFOd. 

I kept making counting mistakes when doing the Kloster blocks and other Hardanger motifs with the #5 Perle cotton but finally got it all sorted out. 

This is what the inside of the pouch will look like. If I do the eyelets, I won't pull so tight as to leave big holes. 
I used HotFix 'jewels' on my scissor case instead of the eyelets. But there would be WAY too many if I used them on all the eyelet spots on the pouch.

Going back to the scissor case, I got the snap fastener sewn on. The metal dome fasteners in my stash were quite large so I used these smaller, white plastic ones. love this yellow fabric and think it will look very spiffy lining the sewing pouch.

I keep finding projects with only an hour or two of work necessary to finish them. 

All my stitching homies are back from the EGA Seminar in Boston. Even though I don't see them all that frequently (except Barb at Monday morning stitching), I missed them while they were gone. They did keep in touch though, via text, email, and some photos while they were gone. I hadn't planned to attend in the first place but I did feel included. It's good to have them back. I look forward to seeing them all at our guild meeting next week and hopefully some of the projects they worked on in their classes. I don't think I'll have my sunflower sewing pouch ready for Show and Share but I'll probably take the scissor case in.

Friday, 8 September 2023

More Sunflowers in My Life

I started stitching a Durene Jones sunflower scissor case almost a year ago. It has been languishing in a project bag ever since with only the Hardanger stitches left to complete. Last night finished it, I substituting woven bars instead of wrapped bars and HotFix 'jewels' for the eyelets (oops! Missed one - will fix).

I lined it with some of the Sunny Brook fabric, including the fabric behind the open Hardanger areas.
I actually increased the size of the pattern by enlarging the grid, stitching the front and folded back as in the original pattern and just shifted the sunflower flap design into the (now farther away) opposite corner. It fits my 4" scissors perfectly. It really does pay to measure ahead to get desired results.
What I didn't plan for was inserting into the flap tip, a loop for a closure. Now I'm trying to decide what to use instead. I'll either go with a little dome fastener (like Durene did in her photo below) or a piece of folded ribbon attached to the lining at the tip of the flap. 

There is also a wee biscornu that can be used as a scissor fob/pincushion that has all the Kloster blocks done, I just need to do the cutting, Hardanger stitches and sew the thing together. I will try to remember to make and attach the cording as part of the finishing.

I also purchased the other patterns in this set:

Monday, 4 September 2023

The Urge to do Another...

I really enjoyed the result of the checkerboard, vinyl-front project bag from the previous post.  I had another charm pack in my stash - one I had purchased at Quilter's Cupboard a few months ago. At the same time, the coordinating fabric was purchased as well. I used it for the lining of the project bag I made for Barb using the French General Bleu de France charm squares.


To do the checkerboard back for the new project bag I used the same technique as the 'ugly' placements I made a couple of months ago. For this project, there are 7 columns and 6 rows = 42 squares. 21 dark squares and 21 light squares. Each charm 5" square cuts to four 2.5" squares, so 6 of each one are needed.

First, I draw a 2.5" grid on the fusible side of featherweight interfacing. Then I lay out the dark squares in every other square and fill in with the light squares, taking care not to duplicate a square in the same row or column, and, if possible not in the adjacent diagonal square.

To me, it's like solving a puzzle. This could also be done with light, medium, and dark squares as in the photo above. Taking a photo makes it easier to see anomalies or mistakes.

The next step is to carefully take the unit to the ironing board and iron the squares in place onto the interfacing. Again, stand back and check for mistakes and that the patterns in the squares are oriented correctly. Changes can be made by peeling the squares off, relocating, and re-ironing them in place. I always start with the darks in the bottom corners so know that is always the bottom.

Take the fused unit and fold an outer column onto its adjacent column, right sides together. Sew a 1/4" seam in from the fold. Then do the same for the next columns until you have completed all the vertical seams. Press all the columns in one direction. Be careful not to use too hot a setting on the iron so as not to damage the interfacing.

Then do the same for the horizontal rows. I like to make my horizontal seams slightly larger than 1/4" so the finished bag is a little shorter than 12" but that is just personal preference. Press the seams downward.
I tried something new this time. I took my thin, micro serrated scissors and cut the interfacing folds on the horizontal seams,
then pressed them open. This was to try and eliminate some of the bulk. I'm OK with leaving the bulk of the vertical seams as it gives the bag some structure/firmness.

I then cut the fusible batting to match the dimensions of the checkerboard piece, then pinned the back of the checkerboard to the non-fusible side of the batting through the dark squares. The backing fabric will be fused to the other side of the batting in a later step.

I prefer using a walking (quilting) foot for any sewing through multiple layers or batting.

For the quilting, I drew diagonals through the lighter squares. This could also have been done just through just the dark squares.

I used tailor's chalk but next time I'll use a water soluble pen. 

On previous bags I've used a heat erasable (Frixion) pen but am concerned that if the bag gets cold (i.e. sitting in a car in the winter) the dark lines will reappear. No worries if that happens, they can be removed again with a hot blow dryer or iron.

Then with matching thread, I quilted through the light squares and 3mm stitch length. Rather than cut the thread each time, I just rotated to the closest line that needed to be quilted. Then brushed away all the chalk marks.

This will be the inside of my project bag facing outwards through the vinyl. 

This is where I stopped today.

The next step is to prep the zipper and vinyl for the front. 

From the backing fabric, cut a 2.5" strip slightly wider than the checkerboard. Then a second 3" strip the same width. Press the first strip in half lengthways. This will be the binding above the zipper teeth. Press the wider strip in half lengthways then the long edges in towards the centre fold, creating a double fold strip. The vinyl will fit between and the single fold will be the binding below the zipper. 

With the closed zipper pull to the left and extra length of the zipper hanging out both sides, butt the upper binding's folded edge against the upper teeth of the zipper and clip into place. The raw edges will form the top edge of the bag's front. 

Helpful hint: use double sided basting tape on the zipper to tack the binding in place before sewing.

Sew 1/8" in from the fold, attaching the binding to the zipper. Then another seam 1/4" above that seam.

Lay the zipper and its top binding on the quilted piece aligning the raw edges with the top of the quilted piece. Measure down from the lower zipper teeth to the bottom of the quilted piece. This will be the length to cut the vinyl. After cutting the vinyl, enclose its top edge in the lower zipper binding then butt the fold up to the bottom edge of the zipper. If unzipped, it will be easy to clip the lower binding into place.

Sew a seam 1/8" away from the zipper teeth. This will secure the vinyl inside its binding to the lower zipper tape. Then a second seam 1/4" lower to secure the lower edge of the binding to the vinyl.

The front of the bag is now finished. Square up and trim the front to match the quilted piece, making sure the zipper pull is inside the width of the quilted piece. 

The backing can be done in three ways:

Option 1: (backing fabric creates the binding)

Baste the quilted piece to the vinyl front with a 1/8" seam on all 4 sides. Take care to keep the clips within a 1/4" margin so marks won't show on the vinyl.

Cut the backing fabric 1" larger on all sides and carefully centering it, fuse to the back of the quilted piece. Fold the extended fabric in half then in half again, over the edge of the front to create the binding and clip into place. Sew a 1/8" seam all around, carefully mitering the corners and securing the binding.

Option 2: (completely sewn binding)

Cut the backing fabric the same size as the quilted piece. Fuse the wrong side of the backing fabric to the fusible batting, creating the back of the quilted piece. Baste the completed quilted piece to the vinyl front with a 1/8" seam on all sides. Take care to keep the clips within a 1/4" margin so marks won't show on the vinyl.

Cut enough 2.5" strips and sew to make a 60" binding. Press in half lengthways. Align the raw edges of the binding along the raw edge of the back of the basted unit, clip in place  and sew 1/4" seam all around, mitering the corners and finishing the two binding ends. Fold the attached binding over to the front of the bag, and sew a 1/8" seam, securing the binding all around.

Option 3: (hand-sewn binding)

Cut the backing fabric the same size as the quilted piece. Fuse the wrong side of the backing fabric to the fusible batting, creating the back of the quilted piece. Baste the completed quilted piece to the vinyl front with a 1/8" seam on all sides. Take care to keep the clips within a 1/4" margin so marks won't show on the vinyl.

Cut binding strips and press as directed in Option 2 above. Clip in place to the edges of the front of the bag and sew 1/4" seam all around, trimming and securing the two ends. Fold over to the back of the bag and hand stitch into place. Caution: Be careful to only sew into the batting. If you sew all the way through the quilted squares, your stitches will sew through the batting, as shown in the previous blog post.

The finished bag is about 14" x 12". An advantage of doing this bag is that less fabric is required - a fat quarter would easily work for the backing and binding of Option 1 above as no additional strips of fabric need to be used. Just a larger piece of vinyl is needed.

Friday, 1 September 2023

Experimenting with a New Construction

I made a vinyl fronted project bag yesterday. There were several mistakes, which to the untrained eye, wouldn't be a problem, but I wasn't completely happy with the result. For one, I forgot to topstitch on the fabric close to the vinyl, so that binding can just flip up. Oops! I didn't realize it until I had all the binding finished. It also took me several tries to get the binding ends joined properly. 

I should have put the quilted squares on the inside facing out the vinyl rather than on the back. I also didn't like how tall it was. There were also several attempts to connect the binding ends correctly. You would think I had lots of practice doing it on the four placemats (below). Harumph!

I started quilting lines out 1/4" from the seam lines. I then realized that was going to take a lot of time and thread. I then remembered how well the diagonal criss cross quilting lines worked on the 'ugly' placemats I made a while ago. I just stitched corner to corner through the white squares.
So I picked out the few lines I had stitched and did the diagonal criss crosses.

I sewed the binding onto the vinyl side and hand-stitched it onto the quilted side. 
However, my hand-sewing was visible through the vinyl along the binding edges. Argh!
I wanted to have it done for tomorrow so I decided to make another one. Being 7 squares by 6 squares, I needed 21 - 2.5" squares of dark and light respectively. Dividing by 4 I only needed a total of 6 dark charm squares and 6 light charms squares. There are 42 in a pack and I used 12 yesterday so there were plenty left for me to remake it.

I didn't think it completely through and cut binding strips instead of making the back fabric 1" bigger on all sides and folding it over to the front and stitching it into place as a binding. Oh well. To make it a bit shorter, I increased the seam allowance a bit on the horizontal seams. Overall I'm much happier with how it turned out. 

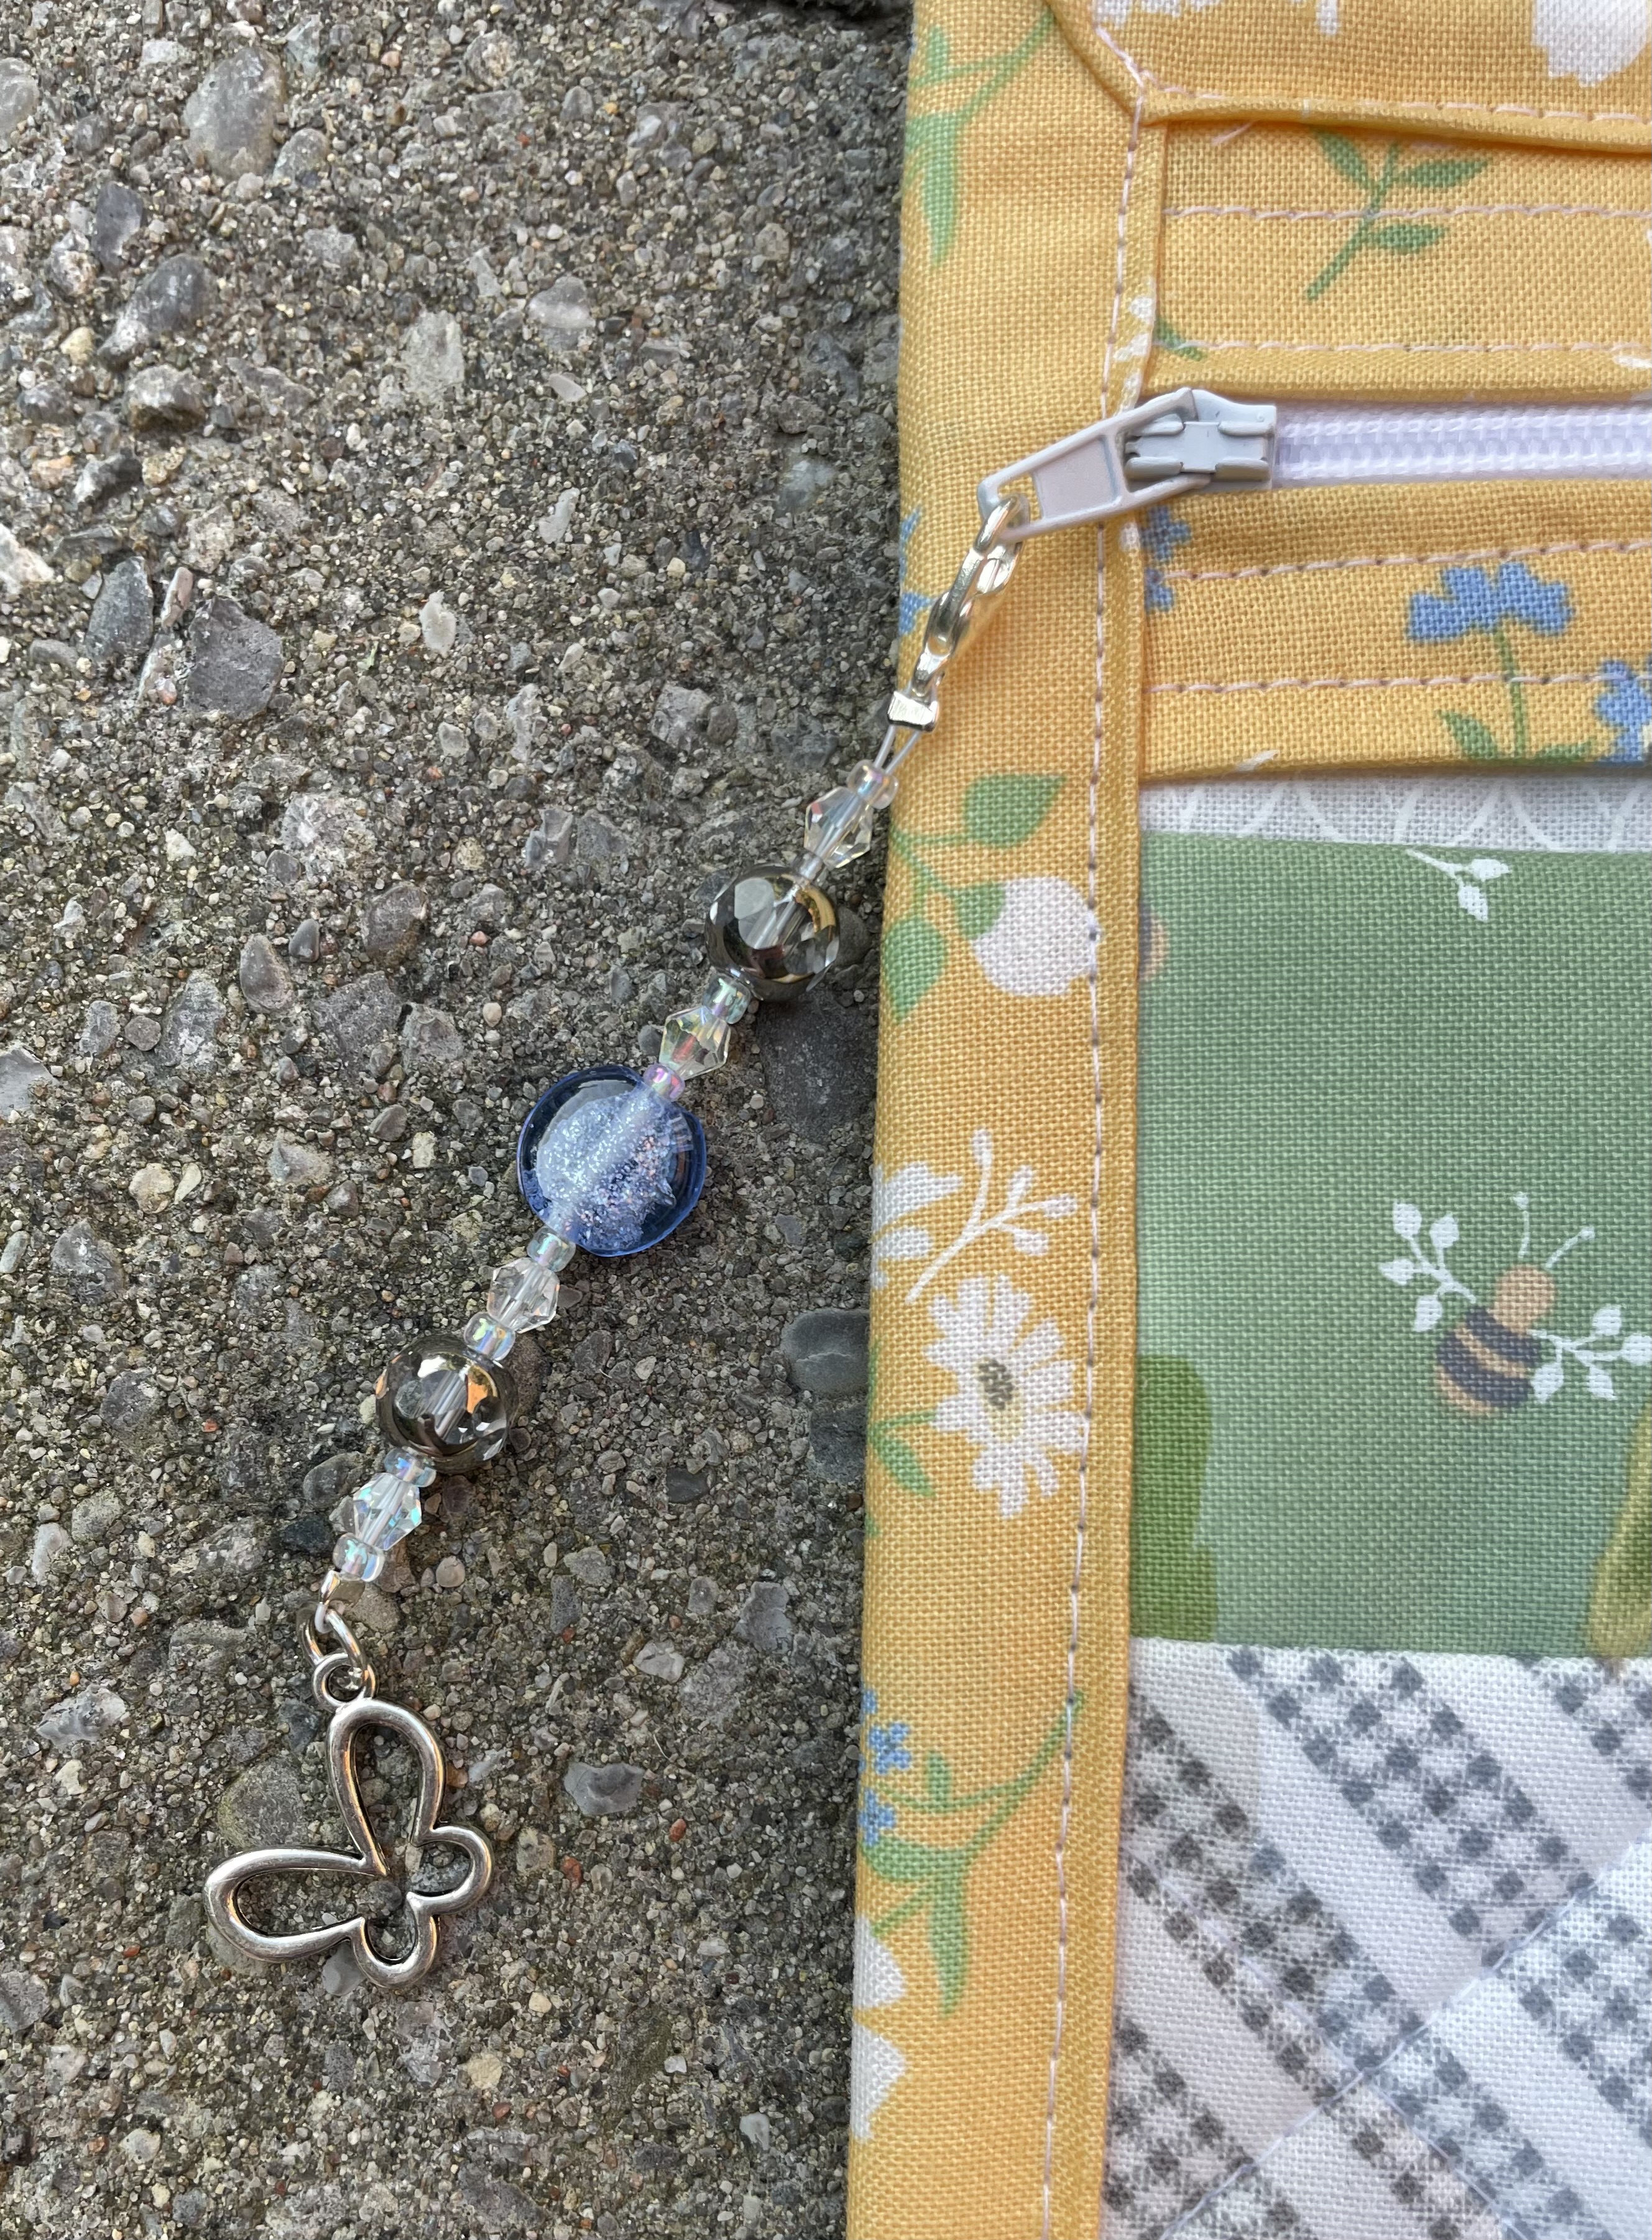
Of course I had to fashion a coordinating zipper pull from beads in my stash.
I think the recipient will be delighted.


And finally, I got my stitches out yesterday and according to the pathology report, the skin cancer was ‘completely excised’. So glad to have that dramatic chapter behind me.