This year I actually completed the Trillium Embroidery Guild's stitch along project - a stitcher's armchair caddy. Each month we received instructions and charts and a demo of how to accomplish the task. I was away for several meetings but was able to keep up with help from Jen1 and other guild members who emailed me information and photos as required.
At our May meeting, Carol went through the steps to assemble and finish our caddy. I finished the last of the stitching the other night and today decided to finish it. I raided my fabric stash for two fabrics that I thought would go with the colours I had picked and each other.
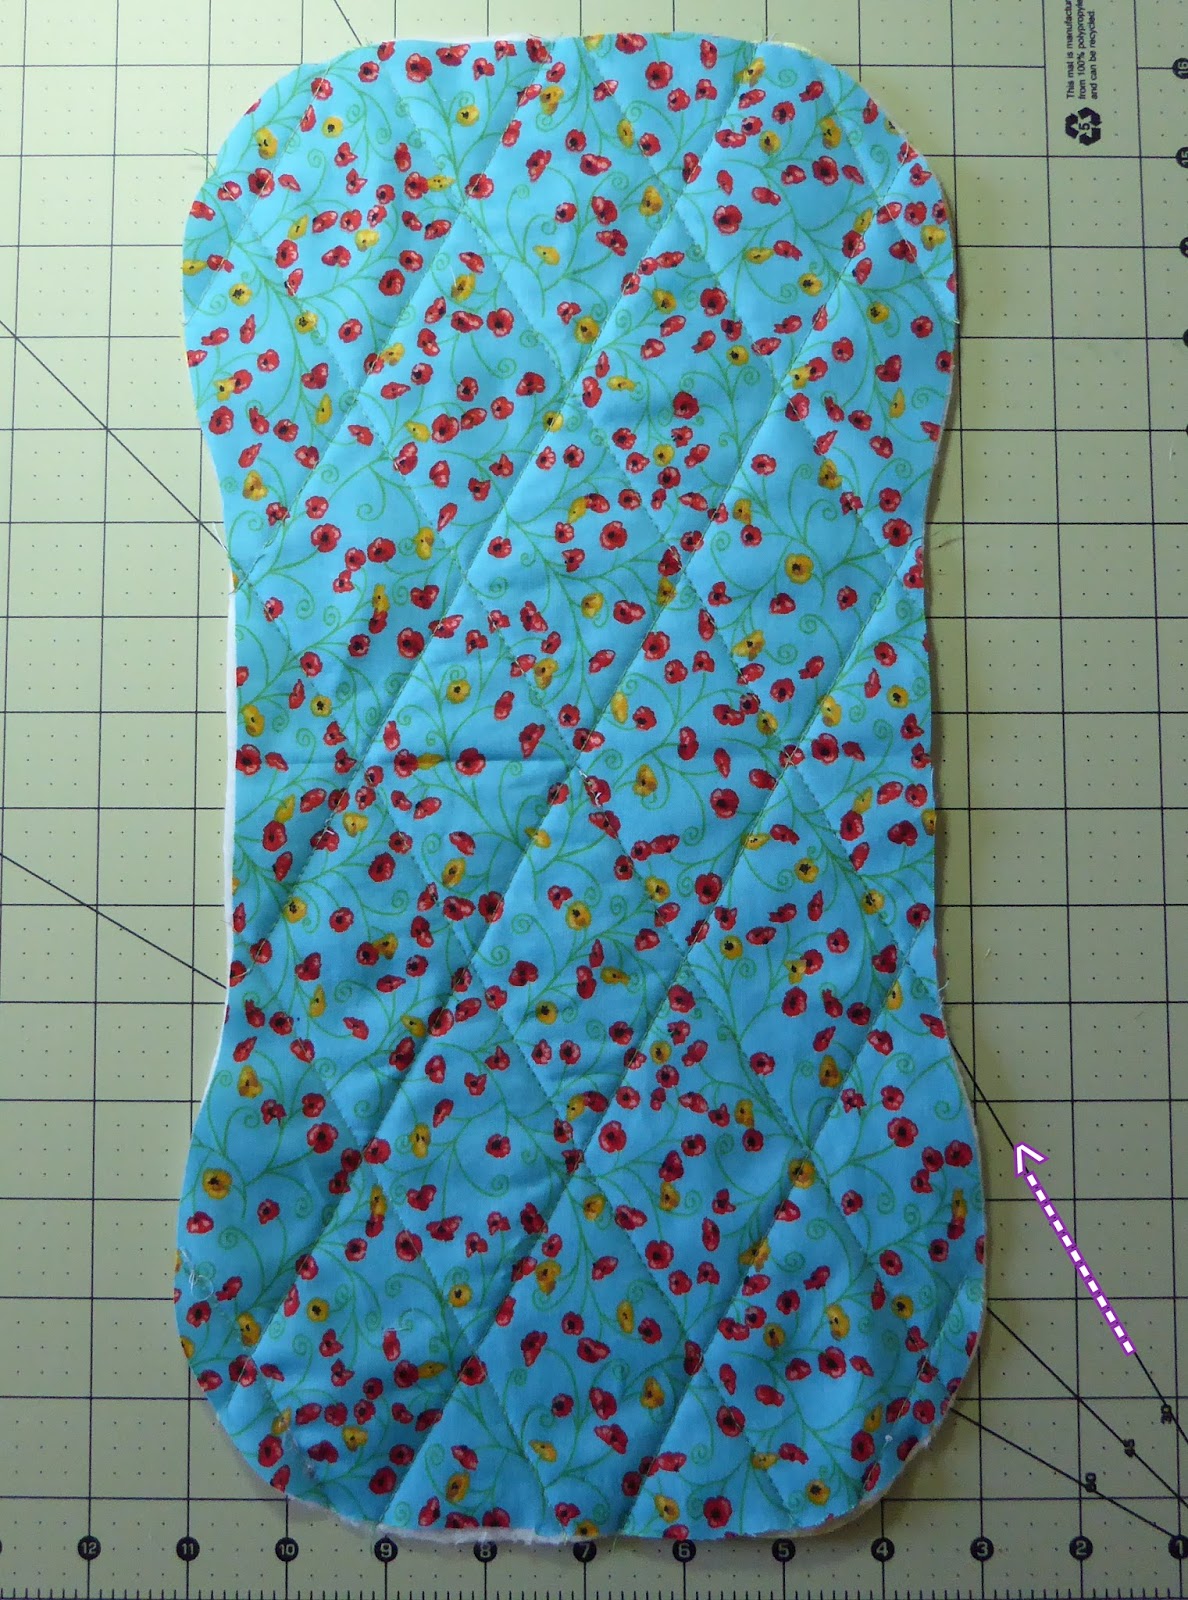
I cut out the padding and two fabrics for the main piece. I decided to quilt them so used the lines on my cutting mat as a guide for the 30 degree angle.
I quilted parallel lines 2" apart, aligning sticky notes with the ruler.
Then stitched each line beside the sticky notes. It saved me having to mark on the fabric.
The easy way I used to put the first line through the centre was making sure the piece was square on the mat, putting a pin through the centre of the piece then making sure it was somewhere on the 30 degree line.
I decided to press the cross-stitched piece before cutting them out forgetting that the cutting lines were drawn on the fabric with heat erasable pen. Oops! No problem, I just put the embroidery on a cookie tin and threw it in the freezer for a few minutes and the cutting lines reappeared. Phew! Lesson learned, don't use erasable pen on anything that might show in the cold. It's fine for cutting lines though.
I worked through the various steps lining each pocket piece, making binding for both pockets from strips of fabric, making binding for the periphery of the entire piece from strips of fabric I sewed together.
Carol's instructions were pretty clear but I was glad I had seen her demonstrate the assembly first.
I sewed, then stuffed the needle roll tightly. I probably should have heeded her suggestion to add extra width to the needle roll. Instead, I just trimmed away about 1/8" on each side of the main piece so the raw edges of the needle roll would comfortably reach the outer edges.
I also lined the scissor pocket and top-stitched it. I forgot to change the bobbin thread when I sewed it onto the main piece below the needle row so there's a bit of a contrast on the back. Oh well. We were given a piece of tubing to fill the binding for the thread-catcher pocket so it would stay open. I trimmed the tubing a bit so I wouldn't be stitching right on it.
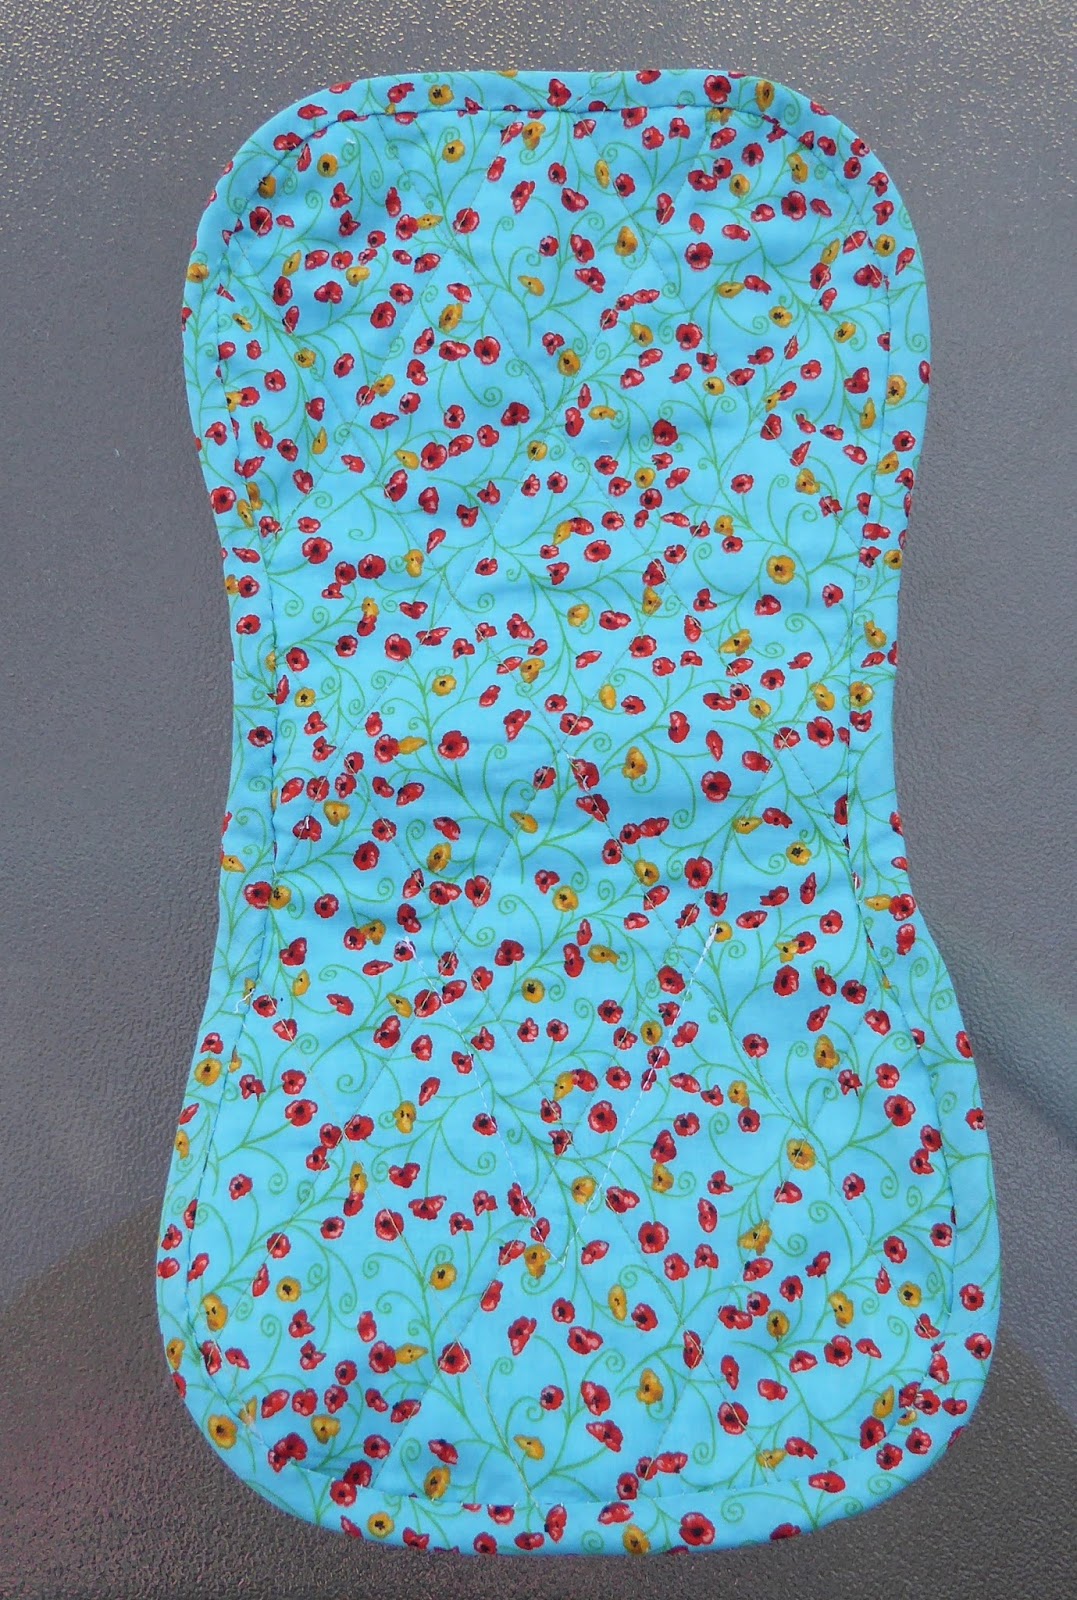
I then sewed the binding all around the piece, anchoring all the pockets and needle roll. Then brought the binding around to the back and hand-stitched it down, neatly finishing the back. (You can barely see the white thread I had in the bobbin when I stitched down the scissor pocket.)
The scissor pocket is just the right size. I like how its butterfly colour matches the binding fabric. I added little black beads at the end of its antennae.
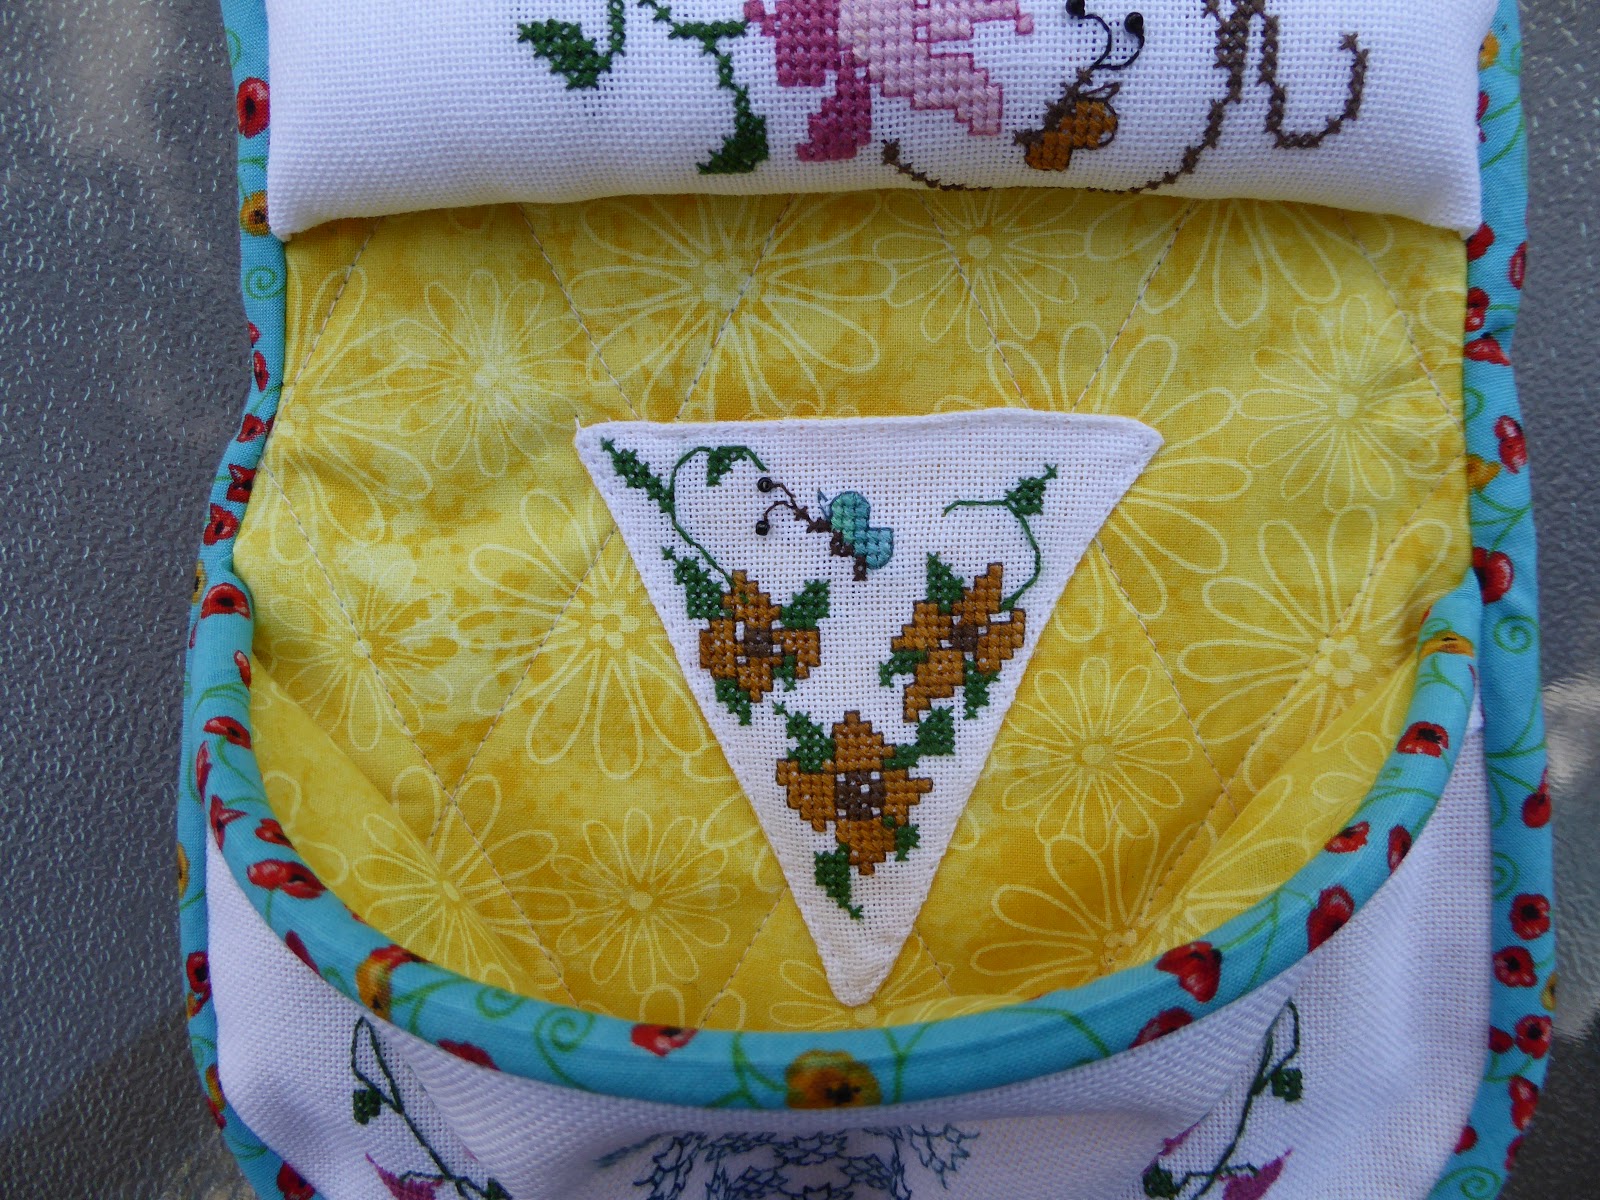
Those of us who cross-stitched our projects (an embroidered version was also an option) were given a chart for our initial. I changed my mind several times about what colour to do the flowers and finally picked a caramel shade. I used yellow French knots for the centres of the flowers.
It will be a very useful item for my stitching, making it easy to grab the scissors, park my needles, and toss in my thread bits.
I have to admit, it took the better part of my day, but I'm very pleased with the result.
I'm looking forward to showing it off at Wednesday's meeting.


No comments:
Post a Comment