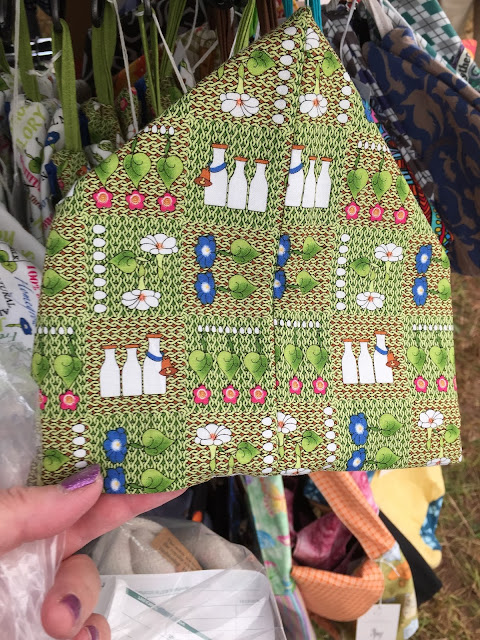
I studied one close up and realized it was simply a zipped bag with one of the raw edges sewn differently.
The end of the zipper is centred on one side and that seam is sewn. The person also sewed tabs onto the zipper ends.
I raided my stash and found this cute hedgehog fabric.
As I wanted the bag to be as tall as it was wide, I simply made the width double the height - in this case, 20cm x 40cm (8" x 16"). I cut a piece that size from both fabrics and a slightly smaller piece of fusible batting. I quilted the three layers together.
I made the bag the same way for a regular zipped bag, sewing the edge closed with the zipper tab on the edge.
For the opposite side, I made a little tab with the stripey lining fabric. I opened the zipper and centred the zipper and sewed that side closed aligning the raw ends of the folded tab between the two layers about 2.5cm from the zipper. I then zigzagged both raw edges.
I turned it right side out. Although it turned out very well, my hedgehogs are upside down! Next time I need to remember that the open end of the zipper is the top.
The inside isn't really that visible so I would probably not waste cute fabric on that and just use a light-coloured solid.
One could make the tab longer so it could go over the hand and wrist.
It's still really cute.


No comments:
Post a Comment