The predominant style of project bag that I've seen online is one that has all of the front in clear vinyl except for the zipper and the bindings around the zipper. Jen1, Marilyn, and I will be taking a class on making a project portfolio set which includes a small floss bag with a vinyl front, and a needle case.
I've been thinking of making a vinyl-fronted project bag for quite some time so a couple of days ago I set to the task. My biggest issue is selecting the fabrics. One could get by with two complementary fabrics - for the back and the lining, but I chose a third fabric for the zipper tabs. To make things really easy, I used a pack of coordinating fat quarters.
I fused the lining to the batting and quilted the back piece (cut 1" larger on all sides) to the binding and lining.
For the first corner to corner quilting lines I used masking tape which I had stuck and peeled off my pants a couple of times to make it less sticky. Then, after aligning one edge of the masking tape diagonally, I stitched beside the tape, then peeled it off. I then used the spacer thingy with my walking foot which really made thing very easy at 2" intervals.

Then repeated for the other corner to corner diagonal.
After attaching the striped bindings to the zipper, I created the binding around the whole thing by folding the 1" margin in half then folded the doubled part over the edge and clipped in place. then sewed all around.
And that was it! Being the first time, it took me as long as the other way I make the project bags but I think I can do it faster now that I've been through the process. These were 3 of the fabrics in the fat quarter bundle. Very eclectic.
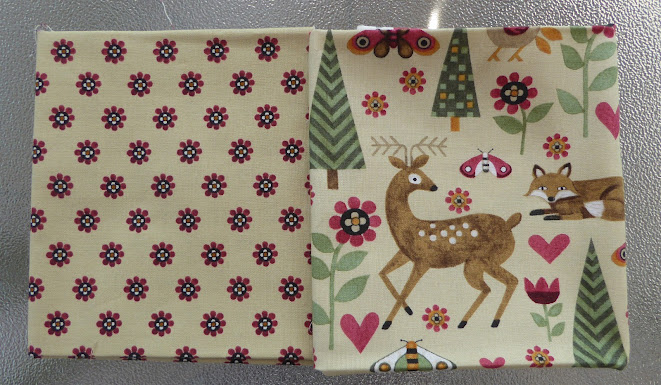
I have some Teresa Kogut fabrics I bought at last year's StitchNorth that are good candidates for these bags.
All 4 are from her Love of Nature line of fabrics so I could pair them as pictured then use some from one of the other pairs for the zipper bindings.
I wanted to create something new today but I wasn't in the mood to make another project bag. However, I did want to try one of the little pincushion projects inspired from the new book I bought.
I mean, who doesn't have a bunch of scraps they can make pincushions from?
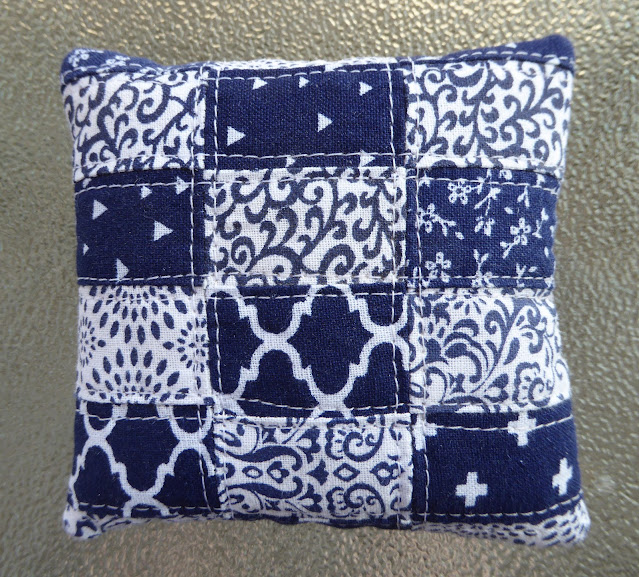
The one on the bottom right looked like fun and I had remains of a navy and white jelly roll I could use.
I made all the strips, sewed them together and quilted them with batting. For the bottom, I just made a 4-patch with 4 of the 2 1/2" squares cut from the jelly roll fabrics.
I stuffed it with sawdust and stitched it closed.
Ta-da!
My quilting lines were a bit wiggly. No matter.
I used the width of my presser foot as the guide to quilting the bottom piece.
It's pretty firmly stuffed with sawdust.
Using fat quarters and jelly rolls for project like this takes out all of the agonizing over what fabrics to use. It also gives me practice for when I ever decide to make bigger projects.
Sometimes I feel like my mind is a tornado of crafty ideas. English Paper Piecing, quilting, sewing, stitching, FFOing stitched pieces, watercolour painting. Thank goodness for my crafty hobbies. They certainly keep me entertained.


You and Marilyn will have lots of fun making that project bag , your other items are really nice, love the Welcome sign with the birds!
ReplyDelete